Skimo Transitions: From SKIN TO SKI in 20 seconds
At the top of each climb, a skimo racer must switch from uphill skinning to downhill skiing and do it in less than 30 seconds to be competitive. The "skin-to-ski" transition is a key skill in skimo racing. Mastering it is a must.
Doing the skin-to-ski in less than 20 seconds is possible with enough practice with the right gear. Think of 40 seconds as a maximum.
The key to fast transitions is slow practice. You need to practice slow enough that you can notice inefficiencies and remove them. Let the speed come naturally as you become more efficient. Rushing in practice will just make you sloppy. The first few hundred reps may take minutes each time, but with enough practice, a fast time will become casual.
Remember that speed doesn't come doing everything faster, but in not doing things that don't matter.
Table of Contents
How to do a skin-to-ski transition in 20 seconds
The following method is one of many. Different body mechanics and levels of flexibility may require some adjustments. Practice it a lot, and then make it your own.
1. As you approach the transition zone, put both poles in one hand, and get ready to unzip your suit (or shirt or jacket.)

Be ready to act as soon as you enter the transition zone. Do not wait until you enter the transition zone to get organized.
The more you can do before you enter the transition zone, the less you'll have to do while you're there, and the faster the transition will be. To make that happen, get your hands where they need to be as you approach your transition spot.
2. Move to the front-most open area within the transition zone.
Transition zones can be busy. Get as close to the exit of the transition as possible. Do not be Canadian about this and worry about offending someone. (It's a race, not a campfire sing-along.)
Being near the front of the transition zone reduces the chance of any interference when you're ready to leave. And it makes it less likely that your poles will get kicked by an incoming racer as they pass by.
3. Unzip your suit as you bend over to place your poles on the ground.

As soon as your skis stop, unzip and place your poles on the ground.
By the time you arrive at your spot in the transition zone, the zipper on your jacket or suit should be coming down and your poles should be headed toward the ground.
You can place your poles to the side of your skis or in between them. To the side is more convenient; in between, safer from other racers.
4. Lock both boots into downhill mode.

After placing your poles on the ground, move your hands straight to your boot levers. Lock them into downhill mode.
Do not stand up.
5. Open the left heel piece while using the right arm for balance.

When your boots lock, your hands will be close to your bindings. Take advantage of their proximity. Reach back to open the heel piece of the left-hand binding. At the same time, extend your right arm for balance.
But don't try and open both bindings at once. That makes you crouch on two tip-toes which is unstable. Falling over wastes time.
6. Open the right heel piece while grabbing the left skin tip.

Pull the left ski back toward you to grab the skin tip. As you grab the skin tip, unlock the heel piece of the right-hand binding.
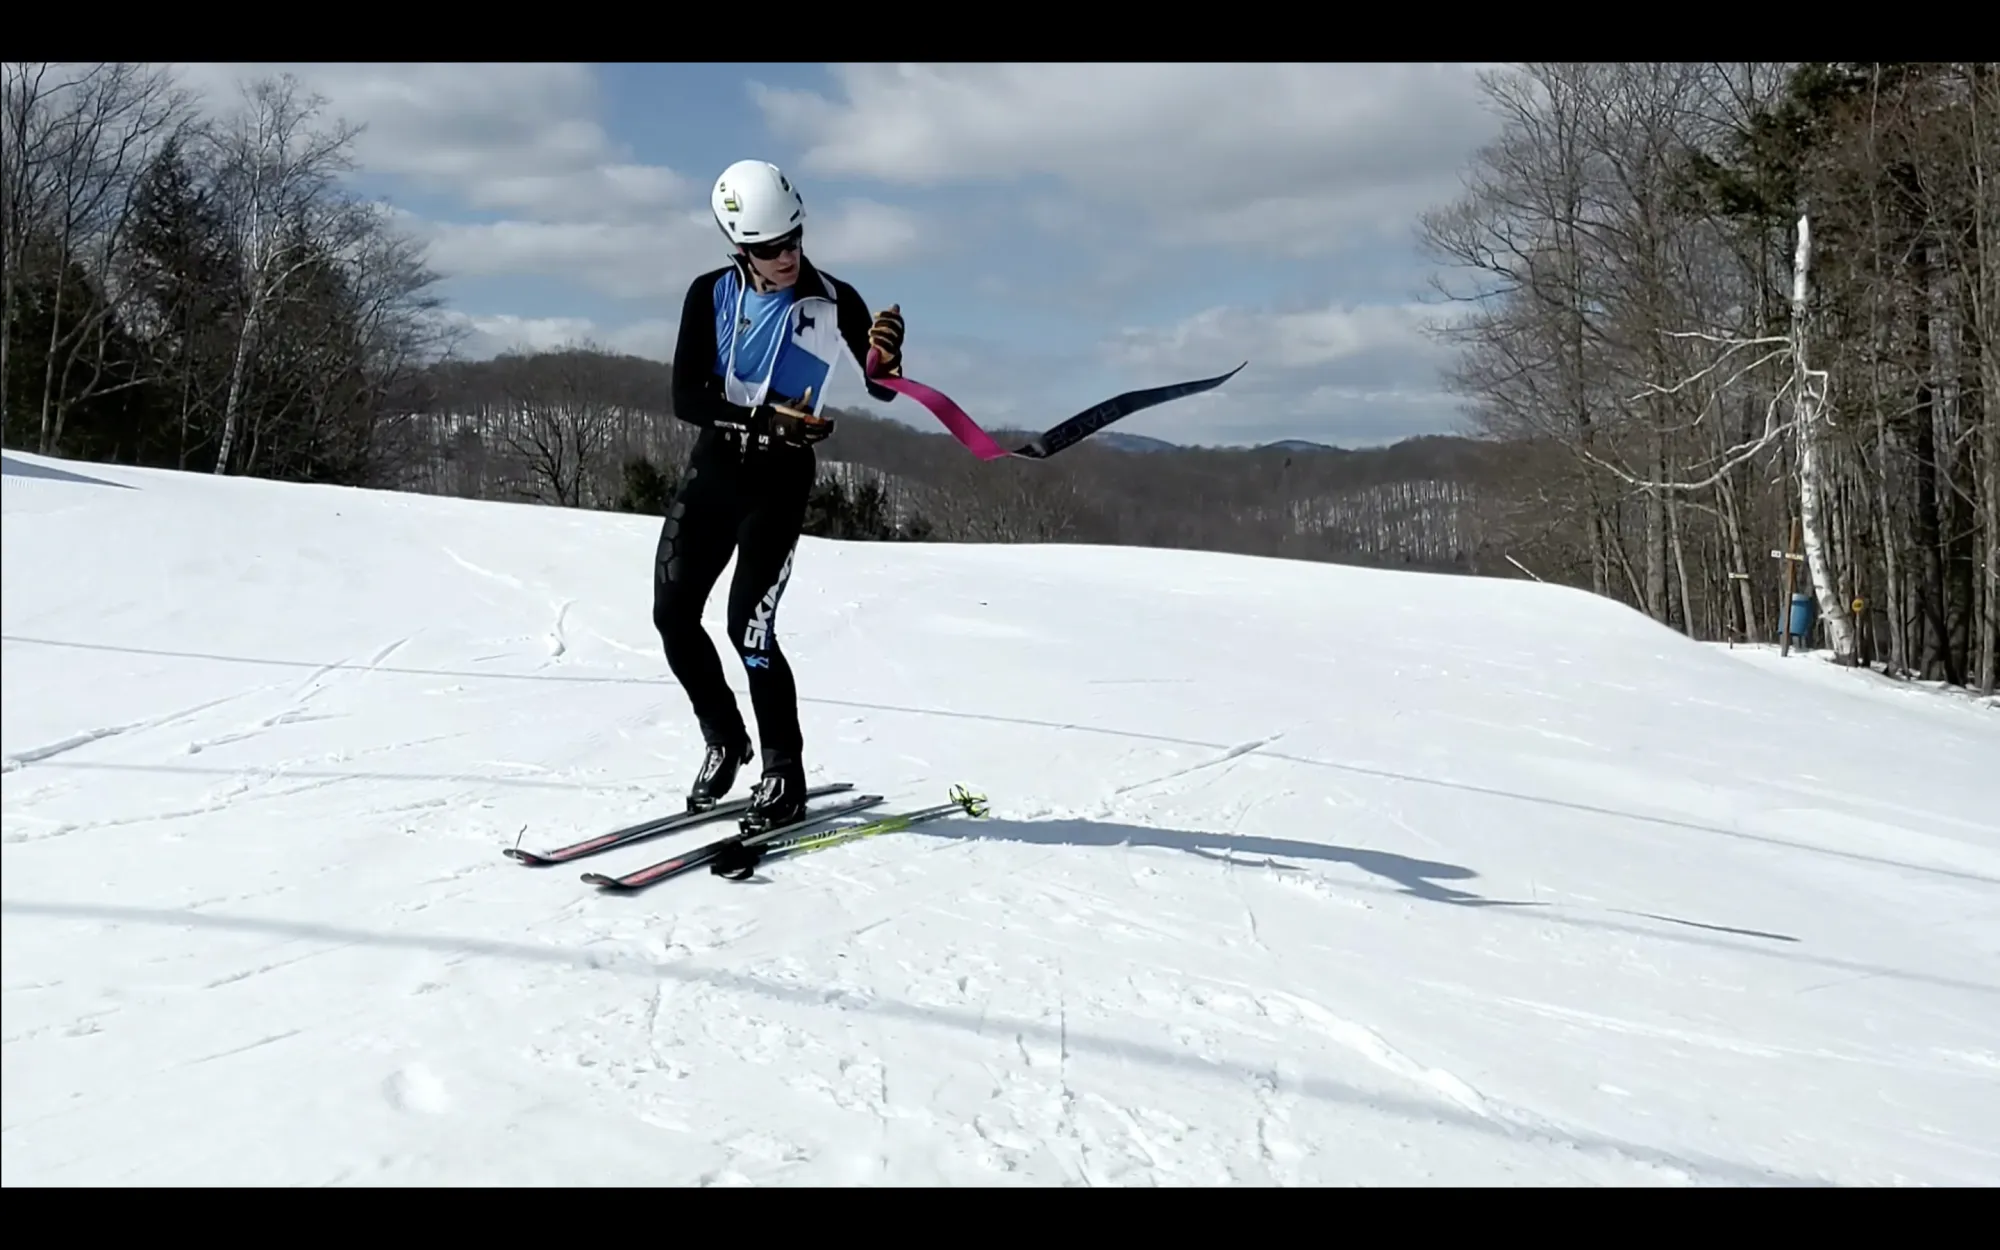
7. Stand up on your right toe while ripping the left skin.

As you stand up on your right leg, slide the left ski forward as your left arm pulls backward. Sliding the ski forward will help remove the whole skin without having the tail stick and get caught under the ski.
8. Stomp your heel into the open binding.

As the skin comes free and the left ski goes forward, stomp your foot into the binding.
9. Keep your right heel out of the binding.

Stay on your right toe so that the right-hand binding doesn't lock prematurely. If it does, it'll make ripping the right skin more awkward. Keep your heel raised until you rip the right-hand skin.
10. Slide your right hand along the skin to find the tail.

While holding the skin tip with your left-hand, slide your right hand along the back of the skin until you can grab the tail. Extend your index finger along the back of the skin as you guide the tail toward the tip.
11. Paste the tail of the skin to the tip.

Press the tip and tail together, but make sure the tail overhangs the tip by a couple of inches. The overhanging tail has two purposes:
- It's easier to grab the exposed tail and separate the glue at the next transition; and
- The overhanging tail can thaw next to your torso. (See step #[two below this one])
12. Fold the skin once.

Fold the skin neatly. Keep your skins organized to save time when you need to re-use them. Do not ball them up. Untangling skins costs more time than folding them.
13. Let the skin fold a second time as it goes into your suit.

With the skin folded once and grasped in the middle, the skin will fold a second time as it goes into the skin pocket. Position the skin so that the overhanging tail is against your torso. That way your body heat will melt any snow or ice on the tail and your base layer will absorb the moisture. With the next application, there's a much better chance of good adhesion.
Do not put skins in your pack. Taking your pack off is a total waste of time, and your skins won't thaw. Wasted time and icy skins ruin races.
14. Stuff the first skin deep into the skin pocket, leaving room for the second skin.
A neatly double-folded skin will leave enough room for a second. That way you can alternate pairs of skins and skin pockets from right to left with each transition.
Here you may be wondering:
When skinning, the toe pieces on your bindings should be locked. On a typical tech binding, this means that the lever in front of your toe is pulled up one or two clicks. When skiing, the toe piece should be unlocked (lever down) so that the bindings will release in a crash. If the toe is locked, the binding won't release.
But most skimo racers leave their toes locked throughout a race. Why?
Again, it comes back to time. Unlocking and relocking your toes with each transition slows you down. And (in theory at least) race skis are so short and flexible, there's likely to be less leverage at work tearing your knee apart.
So you decide: It's time or tendons.
15. Pull the right ski back as you reach down to grab the right skin tip.

As with the left ski, pull the ski back and squat straight down to grab the skin rather than reaching forward. Squatting straight down is faster, easier, and more balanced.
16. As you rip the right skin, slide the ski forward and stomp into the binding.

17. Paste the tail of the skin to the tip, overhanging it by a couple of inches.

18. Fold the skin once.

19. Let the skin fold a second time as it goes into your suit.

Again, make sure the exposed glue on the tail is against your torso.
20. Zip up your suit as you reach down to grab your poles.

As your body goes down, the zipper goes up. If you miss zipping on the down, you can zip up as you stand up.
21. Exit the transition with your poles in one hand.

It's not over. Start skiing away, but also...
22. Drink from your bottle.
If the race is long enough that you'll need calories and water, exiting a transition is the time to get some. During the transition, your heart rate and respiration rate will ease. That makes it easier to drink than when you're working hard going uphill or down. Take advantage of it and take a big gulp as you exit the transition.
(If you estimate your race time in the two- to three-hour range, and if you have a strong aerobic base, it probably won't be necessary to eat any solid food. You should be able to get enough calories with your hydration system. However, if your race will be longer, or if you've done too much high intensity, you may need to eat solid food when races get longer than two hours.)
23. Get your poles into position while skiing downhill.
After taking a swig from your bottle, start working on your pole straps.
It's tempting to avoid using pole straps and just start skiing. But if you drop a pole, the time cost will be greater than slower skiing while putting your wrist loops on. I've always opted for the latter rather than risk dropping a pole. I'd rather ski slightly slower while putting wrist loops on than waste time backtracking to get a dropped pole. (If you ditch any gear on a skimo course, you'll be penalized.)
24. Ski like hell down to the next transition.
Once you're out of the transition and have your poles in-hand, ski as fast as possible to the next transition. But be careful.
Most races will have right-of-way rules with respect to non-racer traffic on the ski hill. (In North America, race organizers usually go by the Alpine Responsibility Code.) You have to respect these rules and the safety of others without giving up unnecessary seconds on the descent. To do so, it may be faster to choose wider, less direct lines that avoid other skiers than it would be to choose the most direct line at a slower speed, especially if there's a risk of braking unexpectedly.
Why so much detail for something so short?
Skimo transitions are an essential skill in skimo racing. Done well, the time they take is insignificant when compared to the length of a typical skimo race. Done badly, transitions can add minutes to your race time and force you to finish well behind other racers of similar fitness. That sucks.
But there's good news. Anyone can have fast transitions. All it takes is practice.
Join the discussion.
Get access to our private community,
Inside Redline Alpine.
It's free $5 per month for the next 25 members.
Get in now at the cheapest price possible.
Get Inside