Skimo Transitions: From SKI TO SKIN in 30 seconds
At the bottom of each descent, a skimo racer must switch from downhill skiing to uphill skinning and do it in less than a minute to be competitive. This "ski-to-skin" transition is a key skill in skimo racing. Mastering it is a must. Doing it in less than 30 seconds is possible with enough practice with the right gear. Think of 60 seconds as a maximum.
The key to fast transitions is slow practice. You need to practice slow enough that you can notice inefficiencies and remove them. Let the speed come naturally as you become more efficient. Rushing in practice will just make you sloppy. The first few hundred reps may take minutes each time, but with enough practice, a fast time will become casual.
Remember that speed doesn't come doing everything faster, but in not doing things that don't matter.
Table of Contents
How to do a ski-to-skin transition in 30 seconds
The following method is one of many. Different body mechanics and levels of flexibility may require some adjustments. Practice it a lot, and then make it your own.
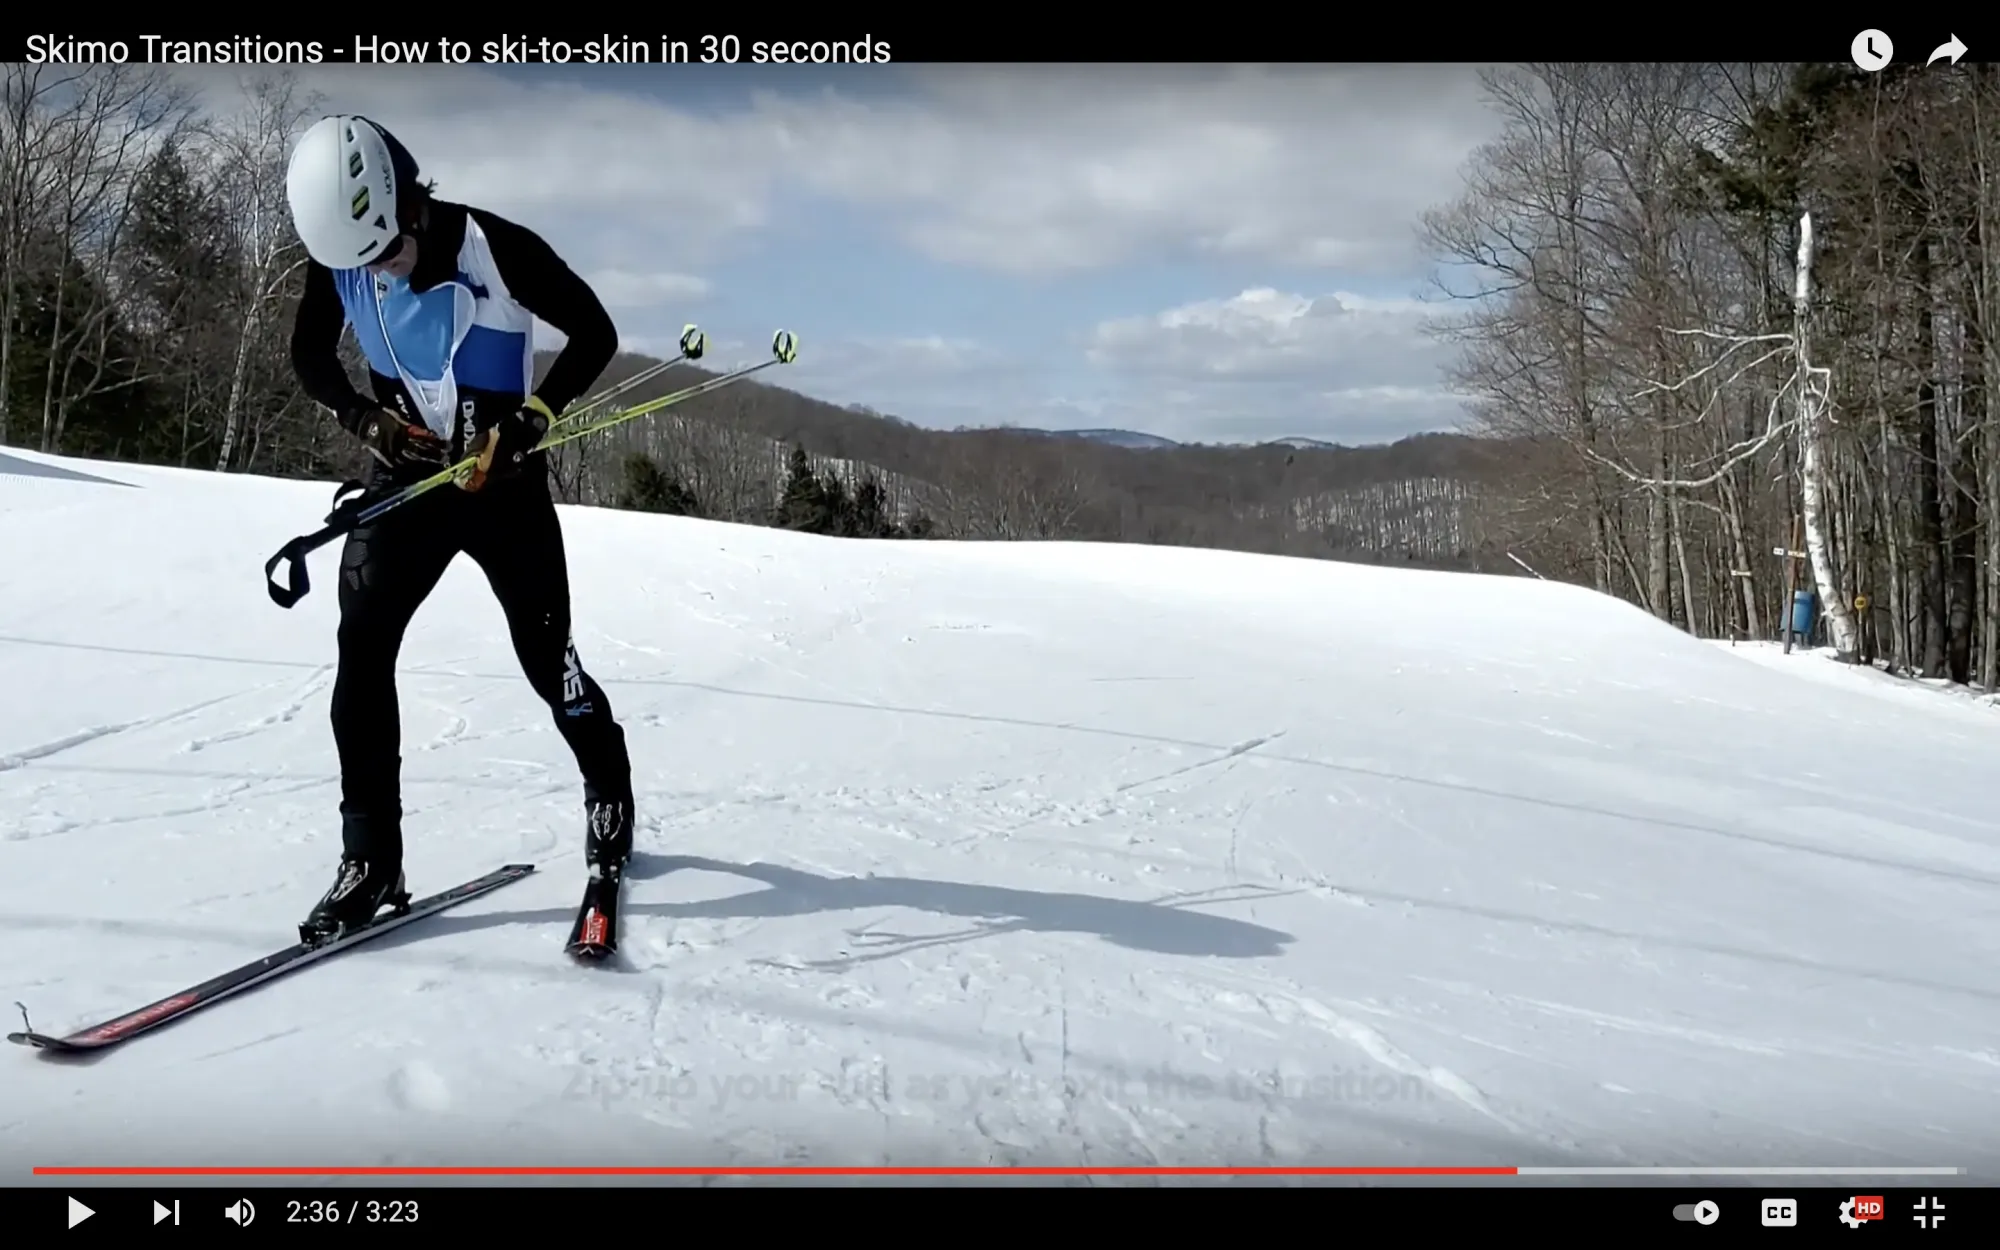
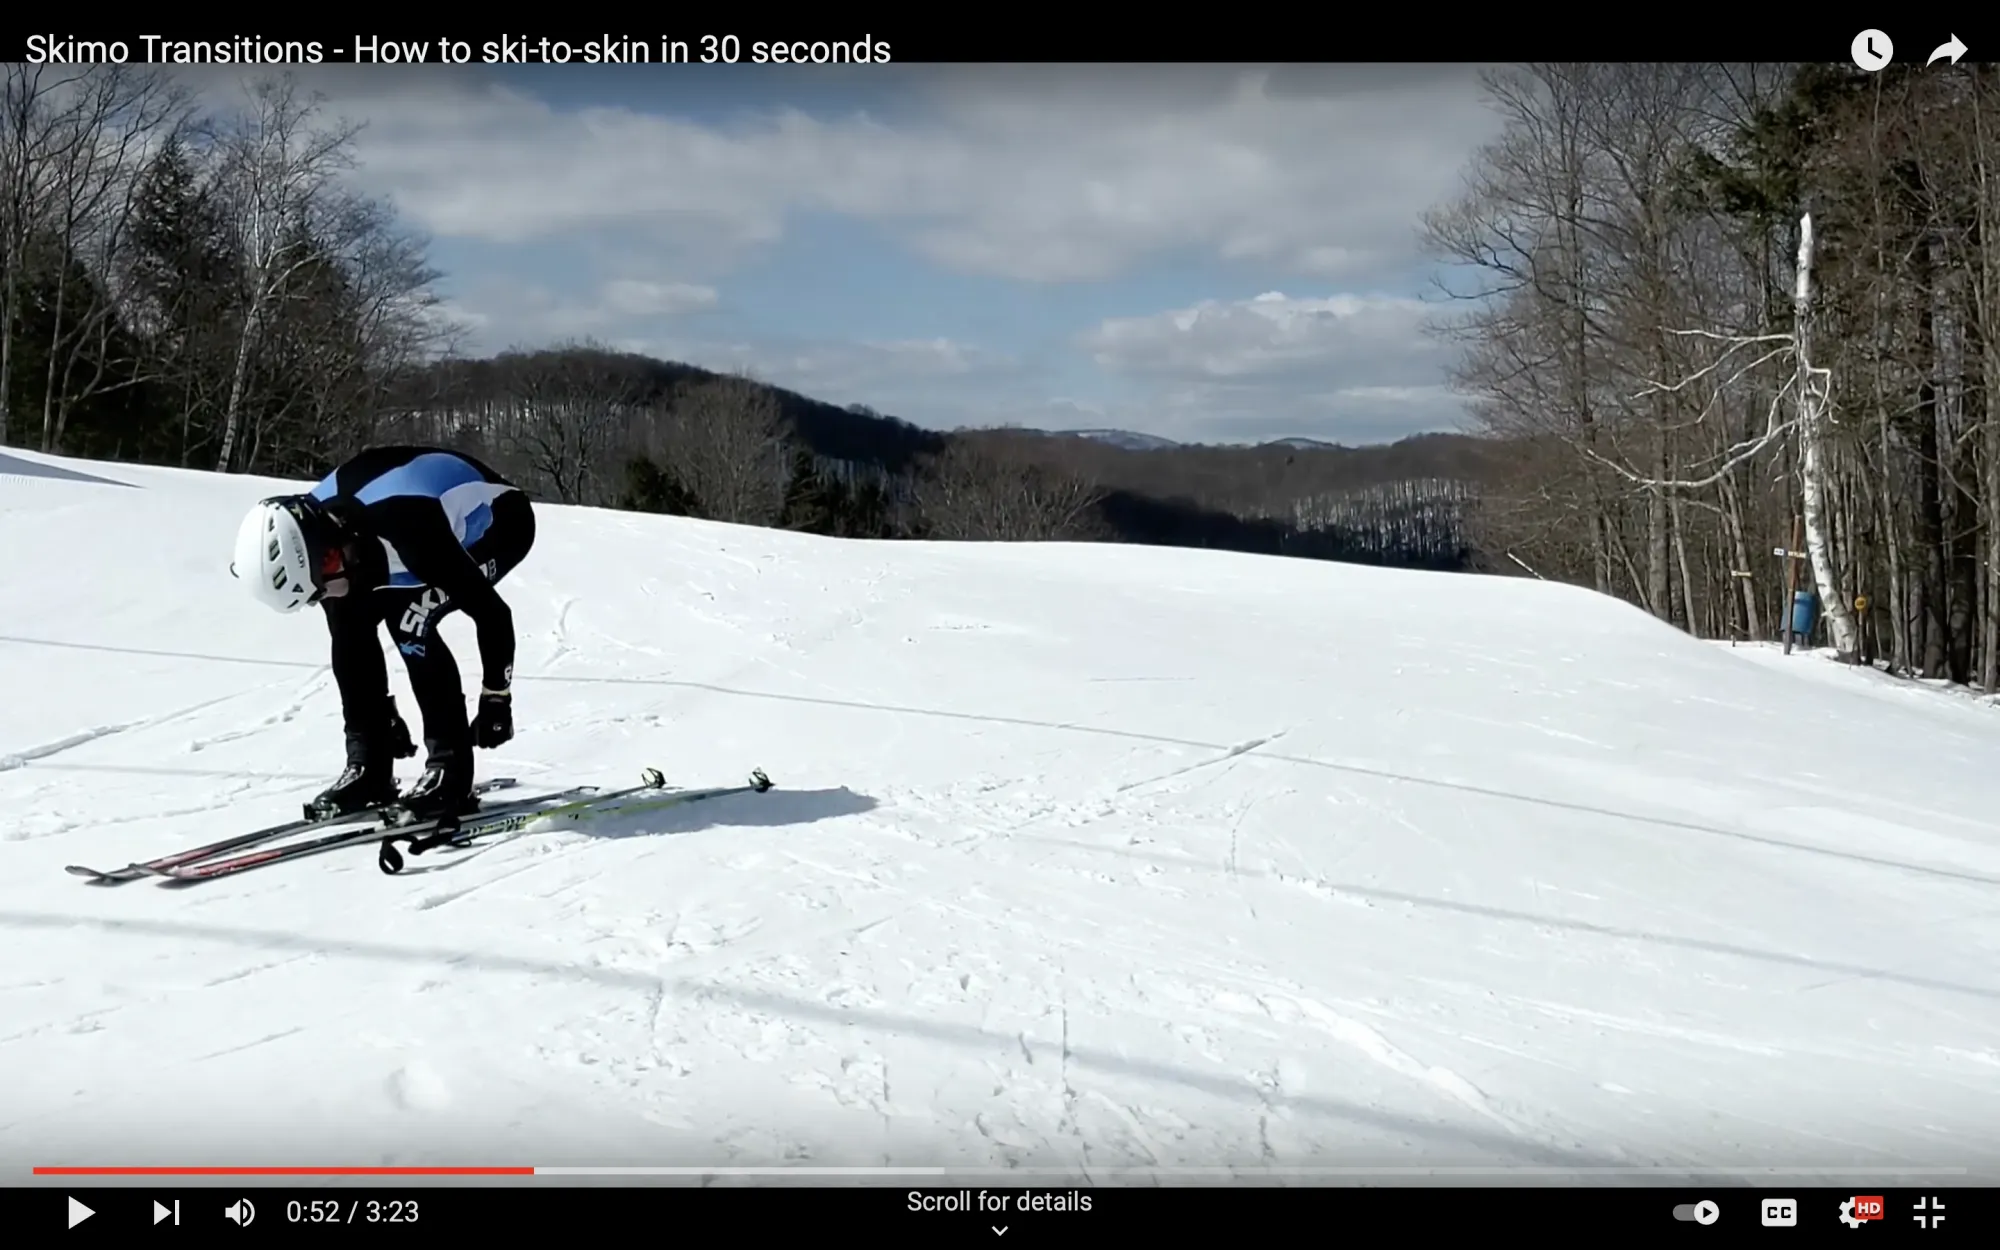
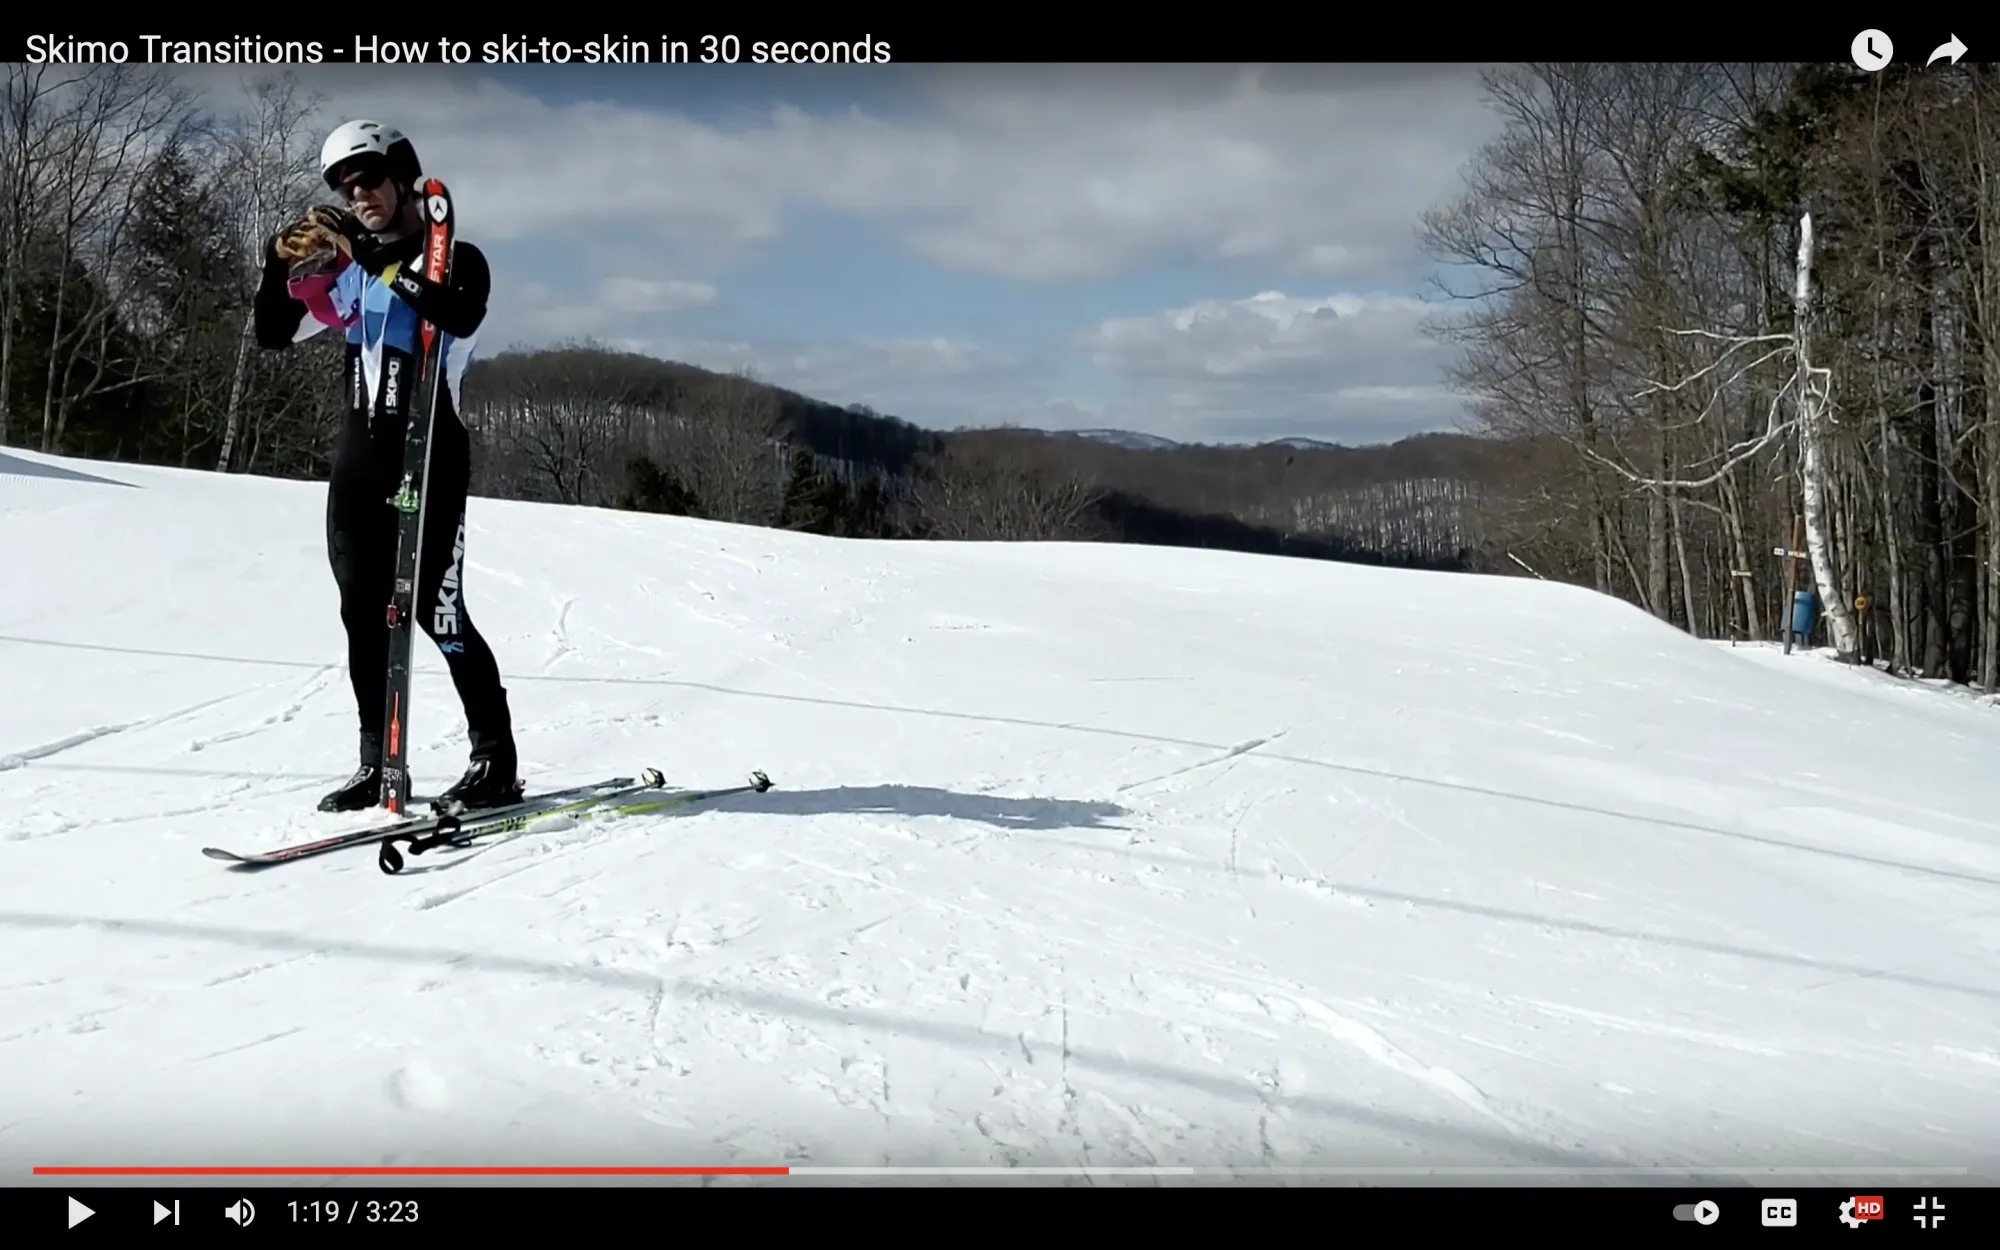
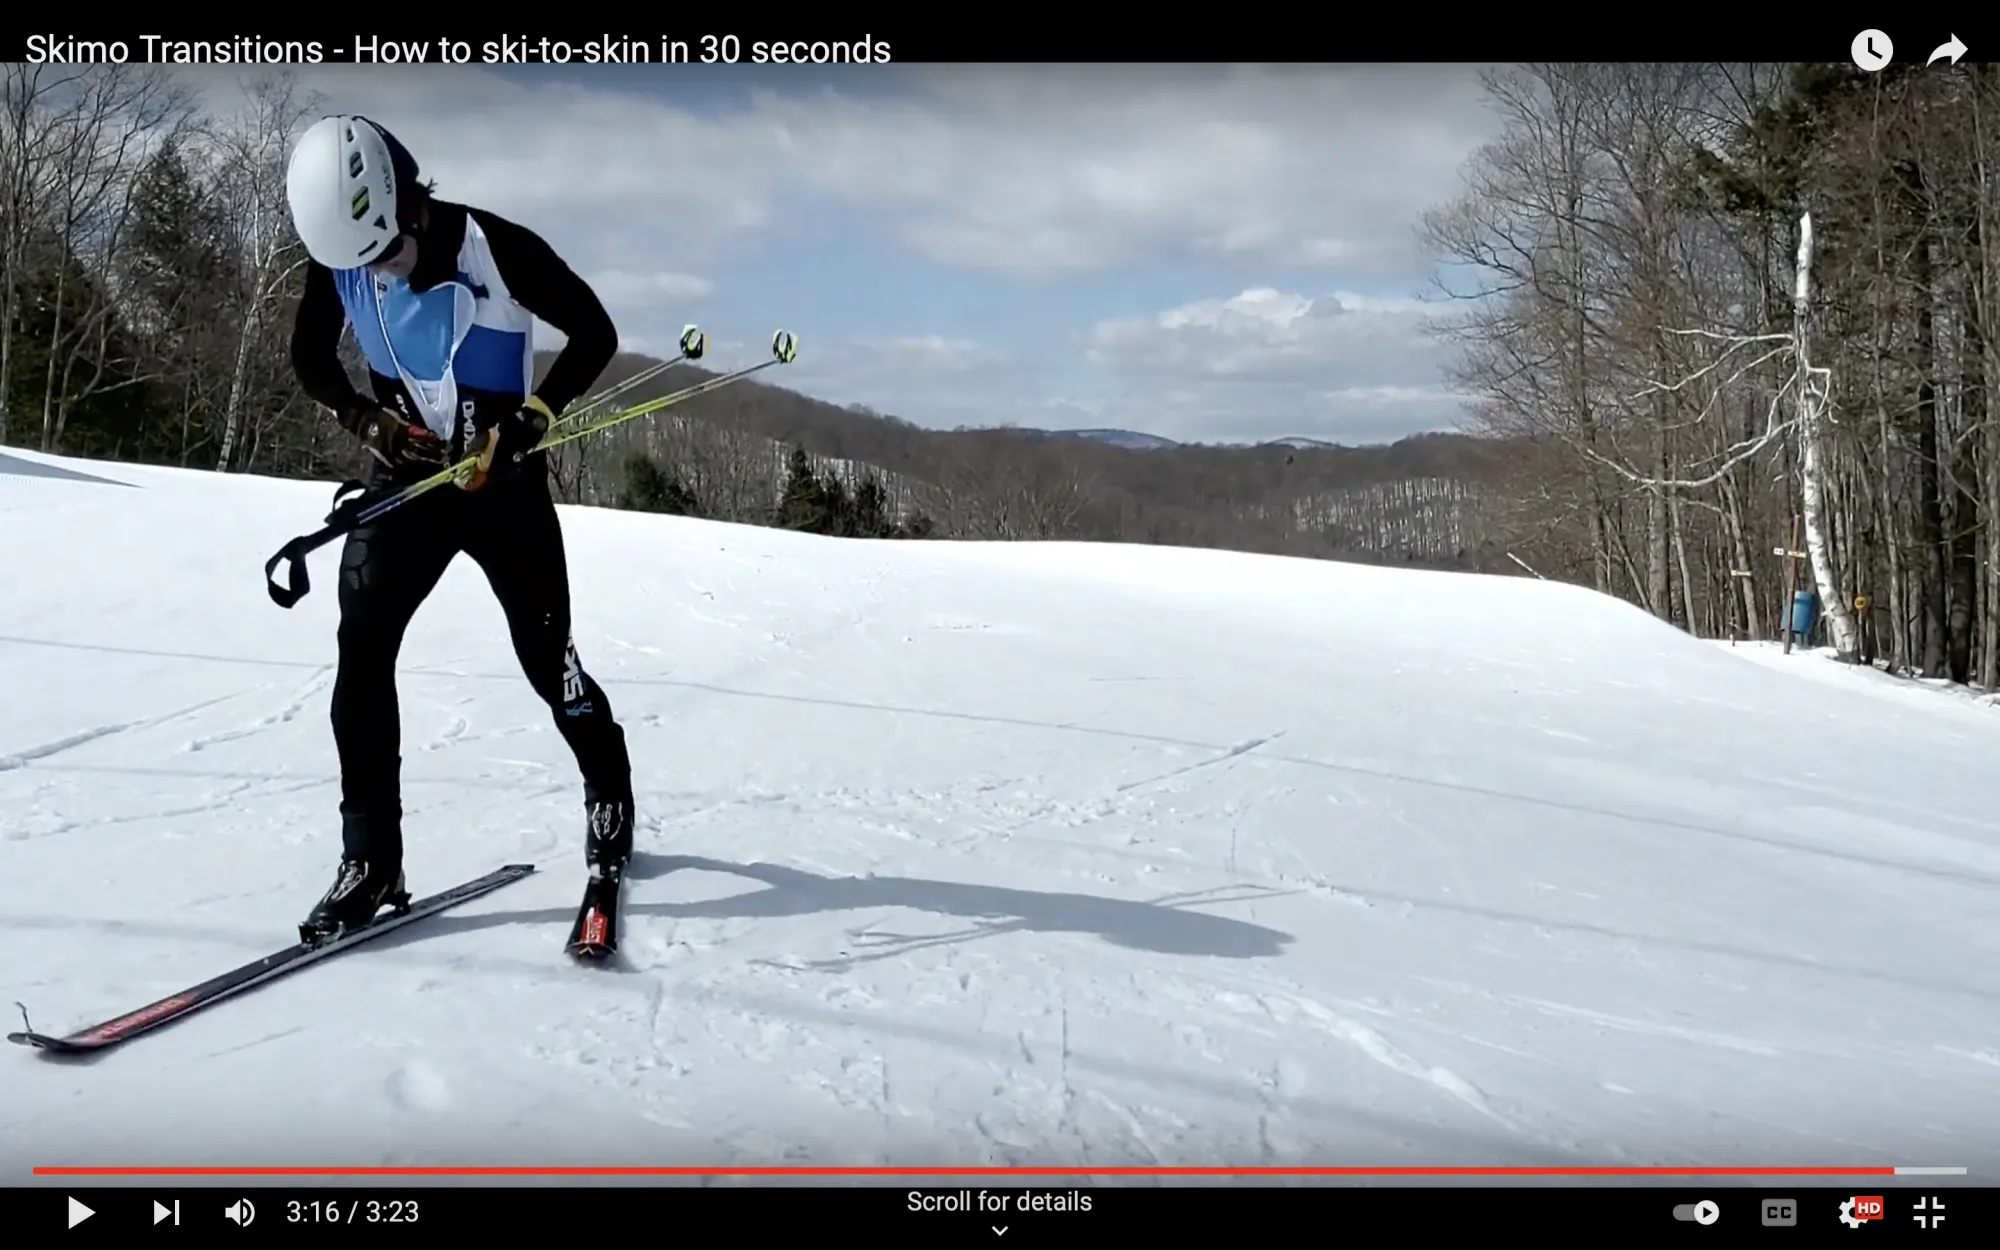
1. As you approach the transition zone, put both poles in one hand, and get ready to unzip your suit (or shirt or jacket.)
Be ready to act as soon as you enter the transition zone. Do not wait until you enter the transition zone to get organized.
The more you can do before you enter the transition zone, the less you'll have to do while you're there, and the faster the transition will be. To make that happen, get your hands where they need to be as you approach your transition spot.
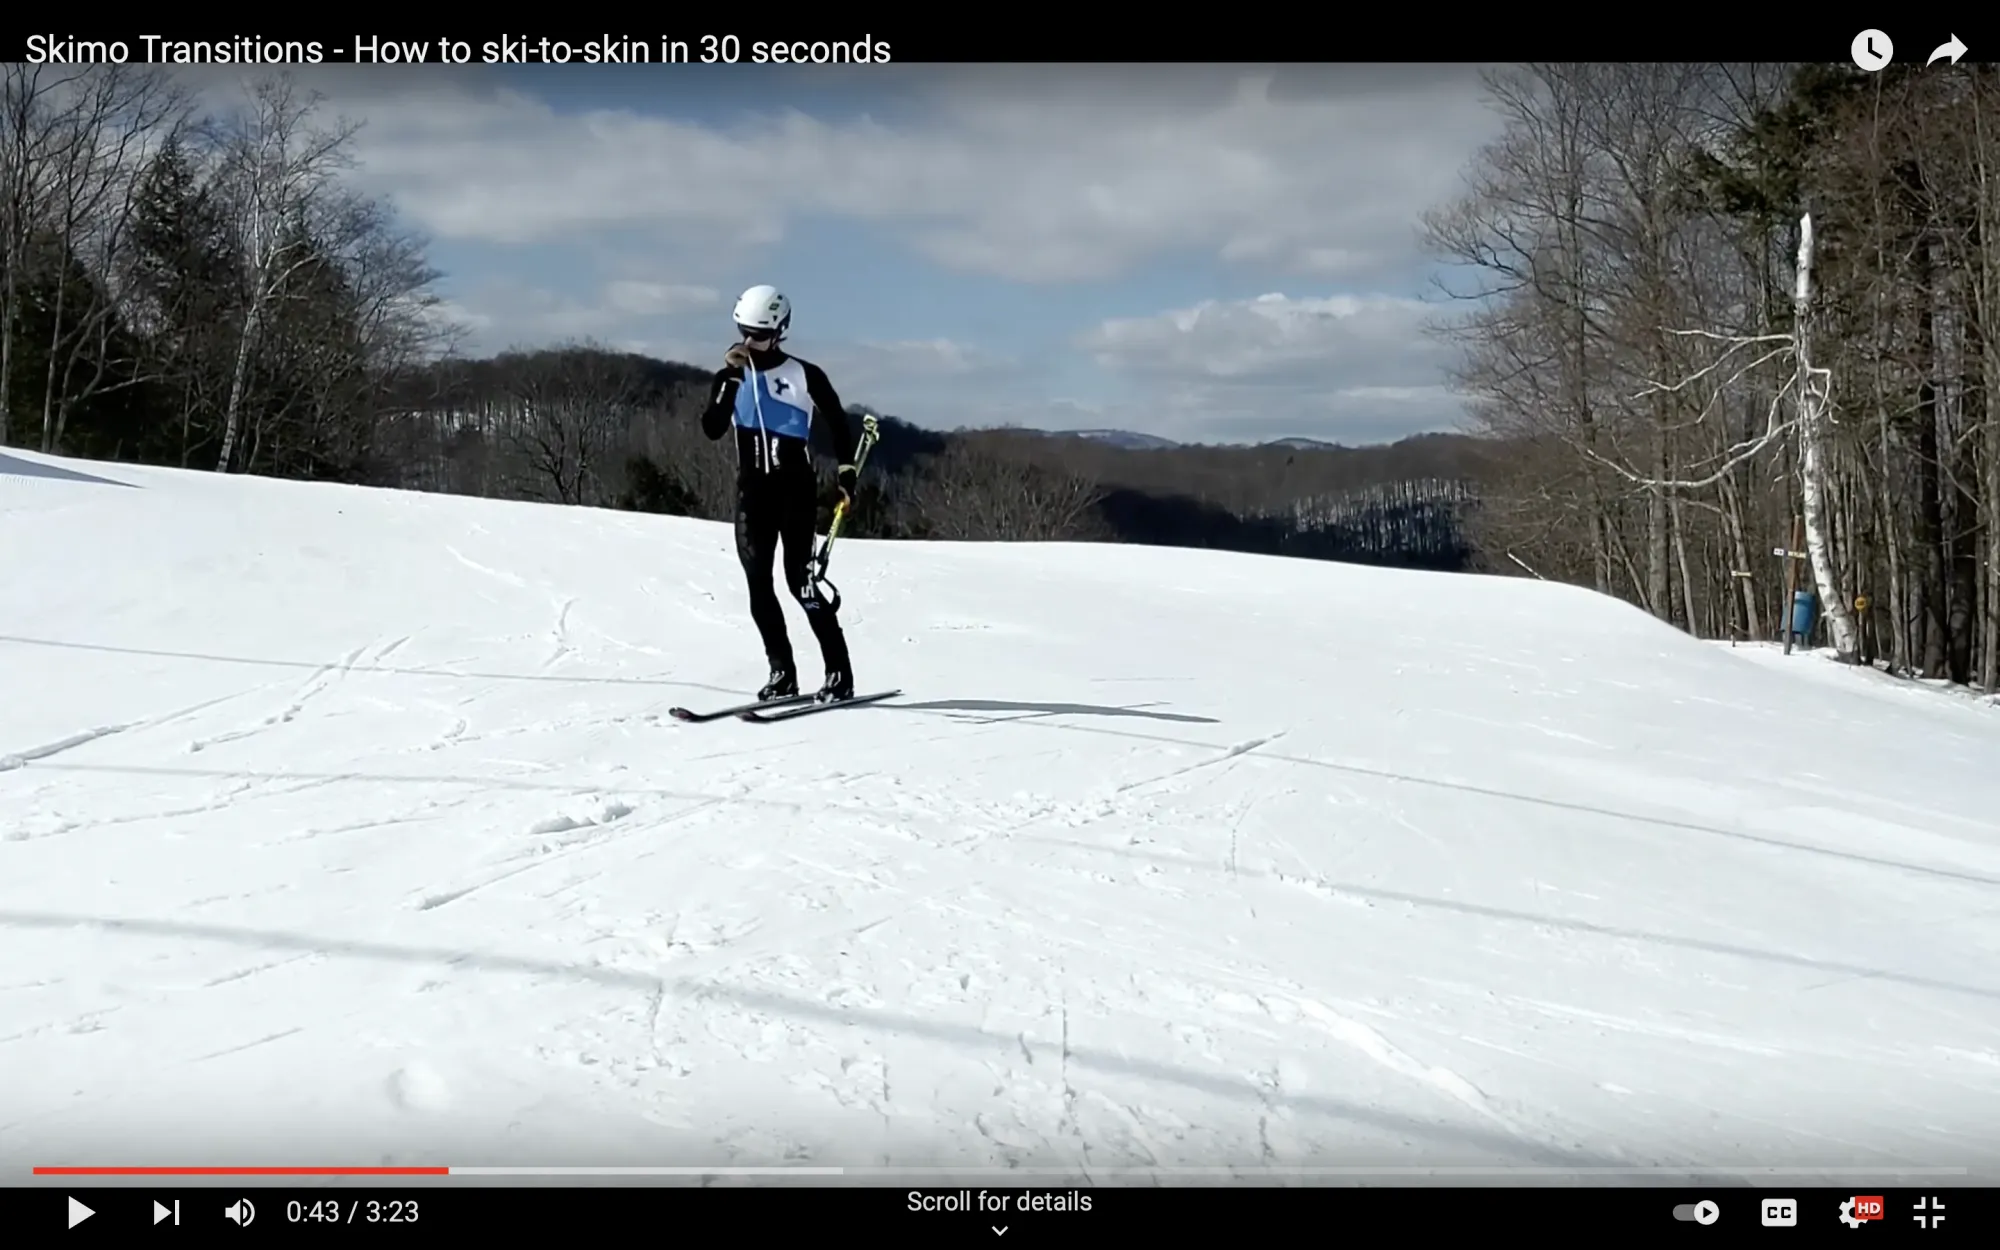
2. Move to the front-most open area within the transition zone.
Transition zones can be busy. Get as close to the exit of the transition as possible. Do not be Canadian about this and worry about offending someone. (It's a race, not a campfire sing-along.)
Being near the front of the transition zone reduces the chance of any interference when you're ready to leave. And it makes it less likely that your poles will get kicked by an incoming racer as they pass by.
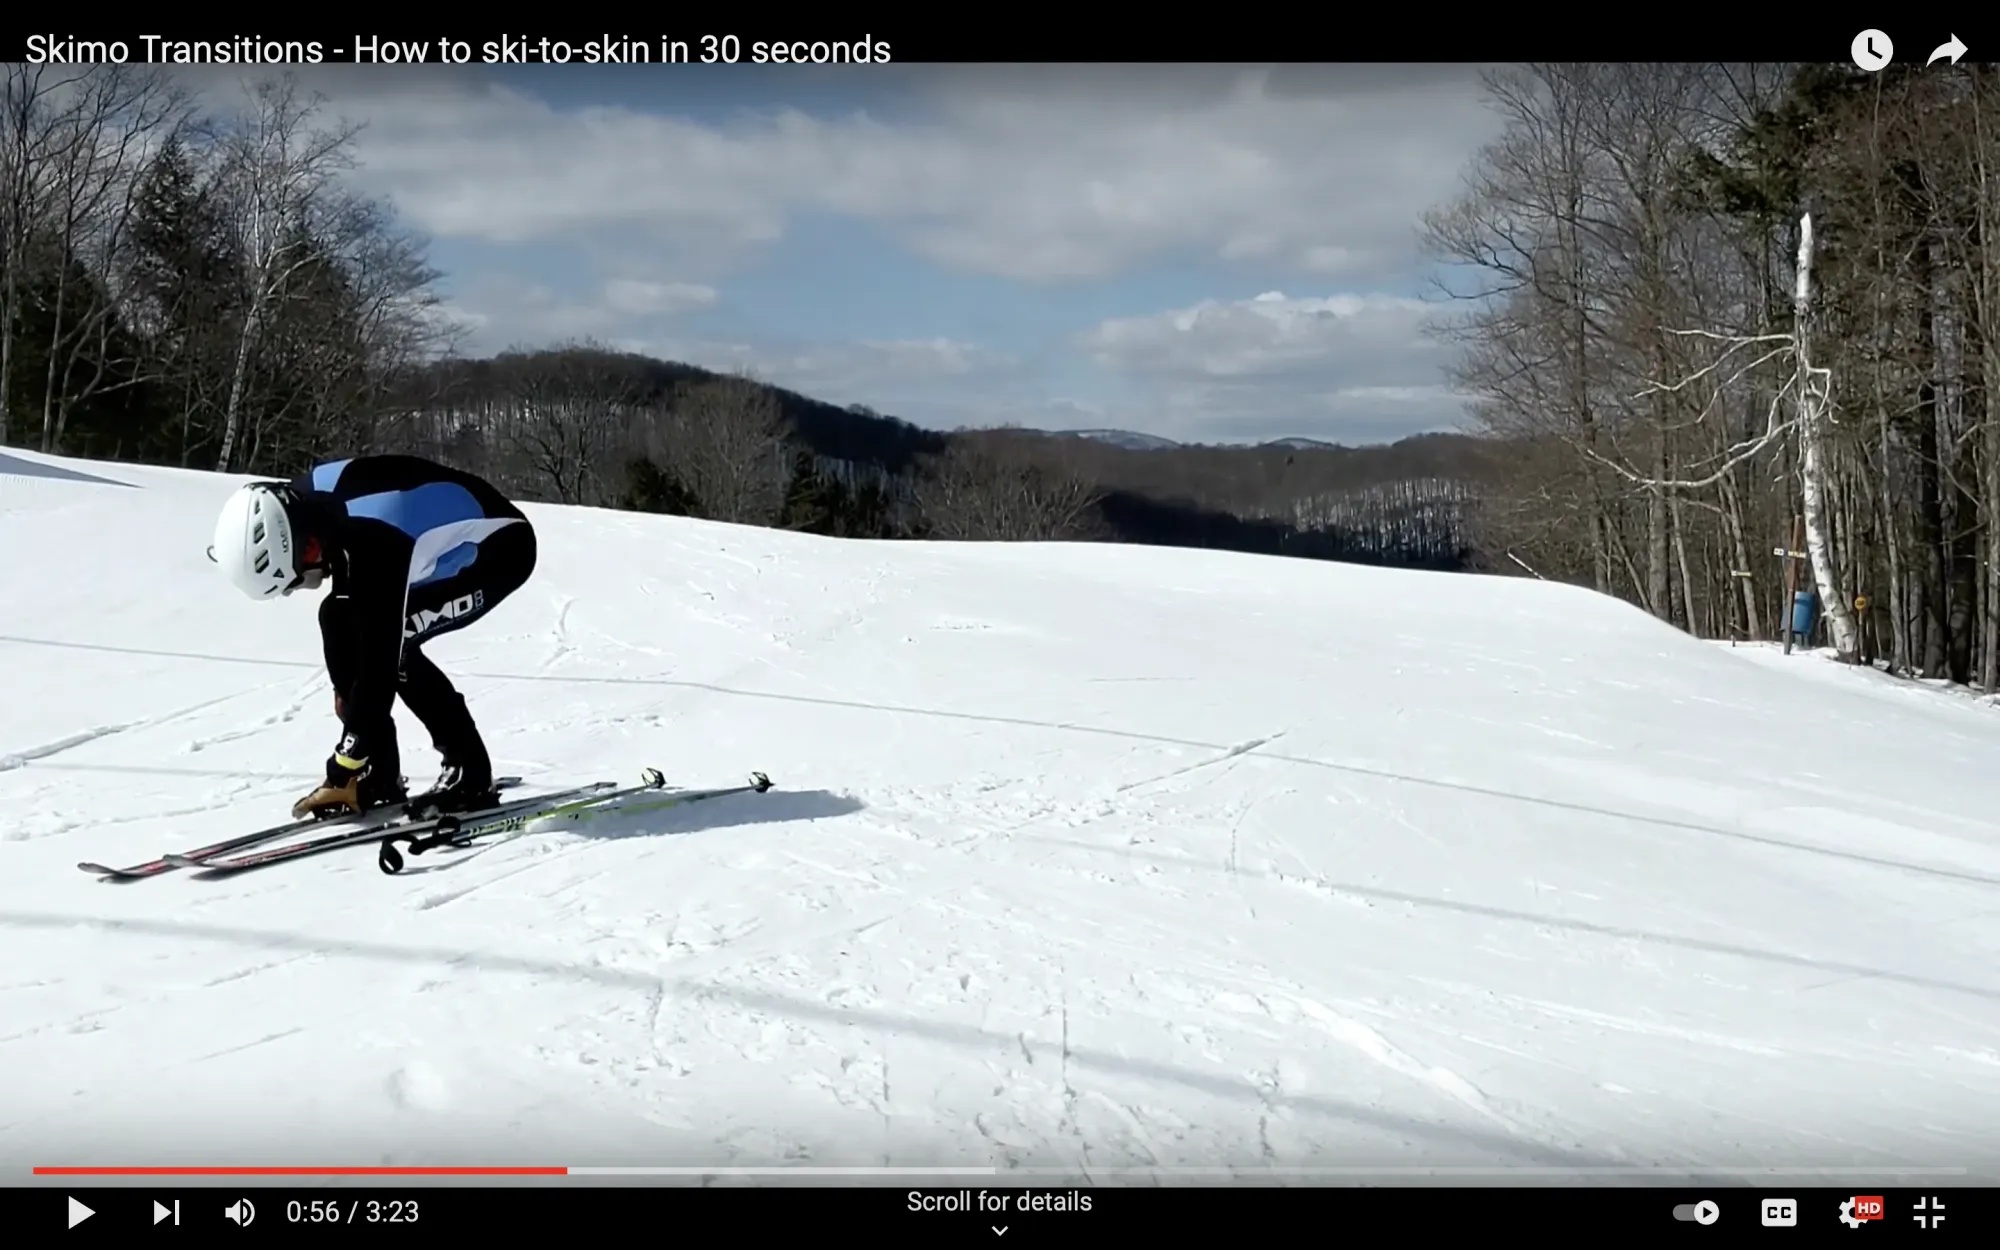
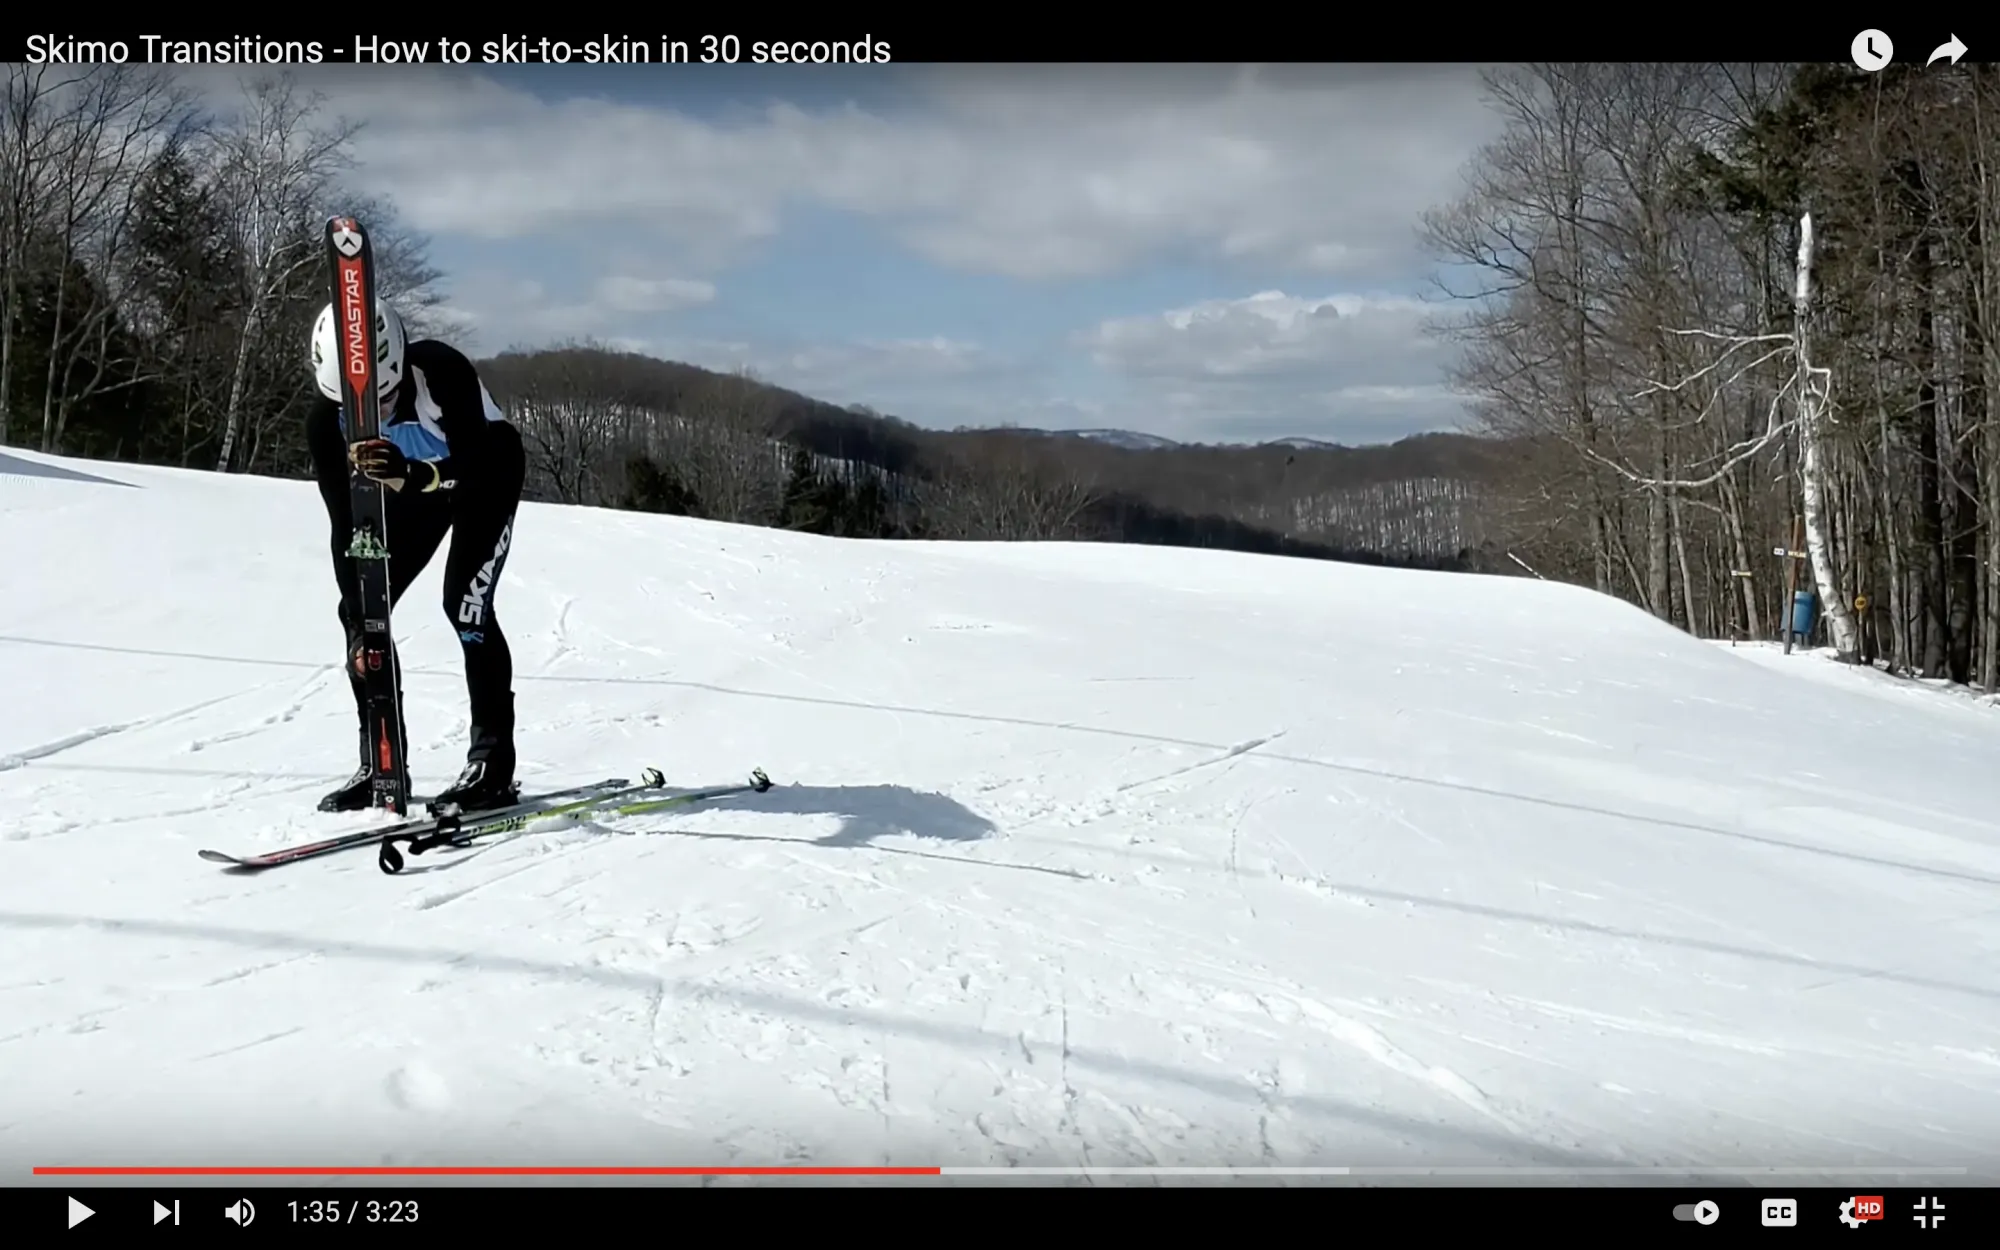
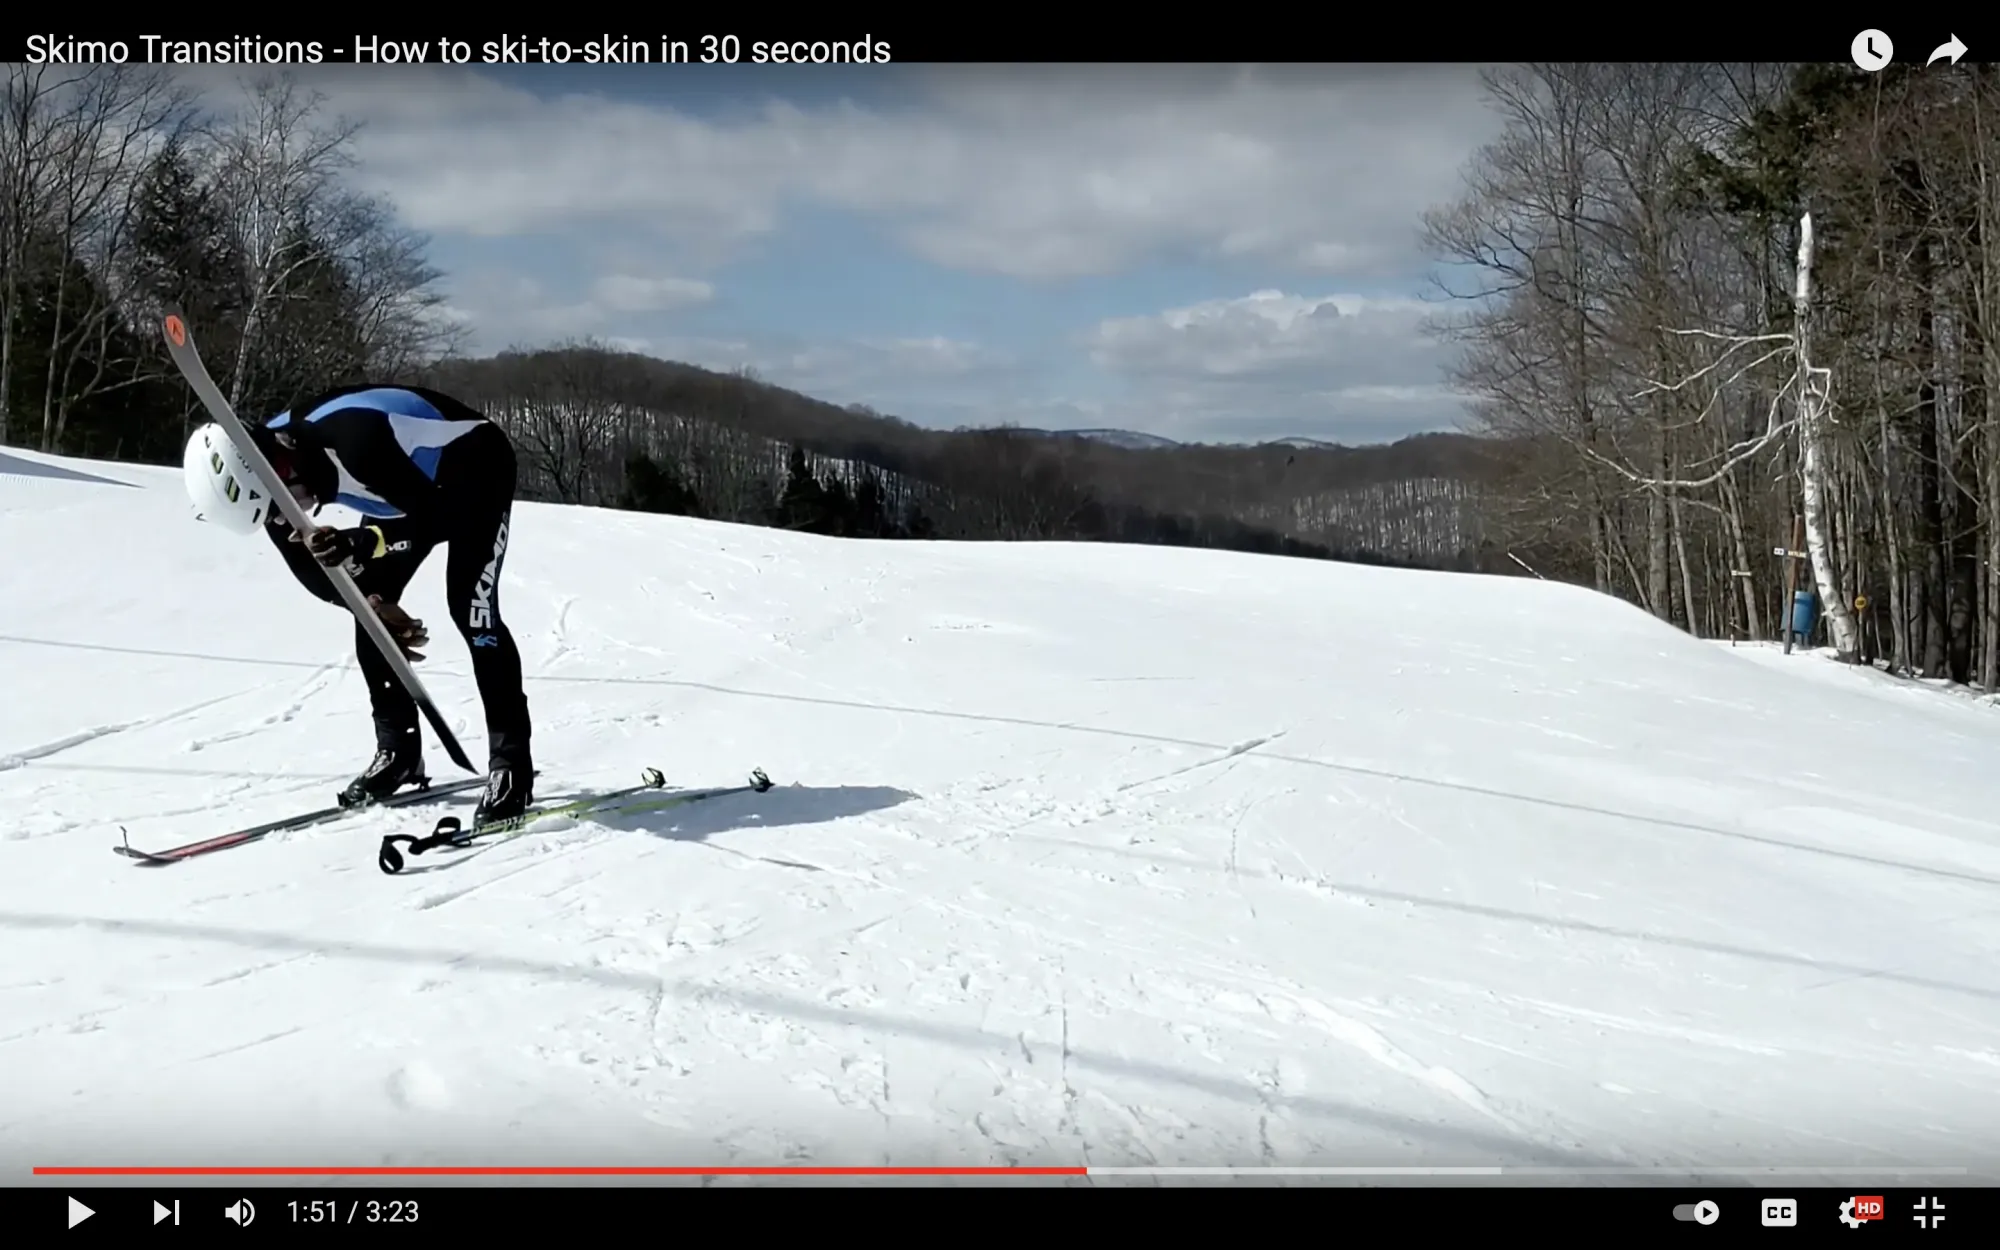
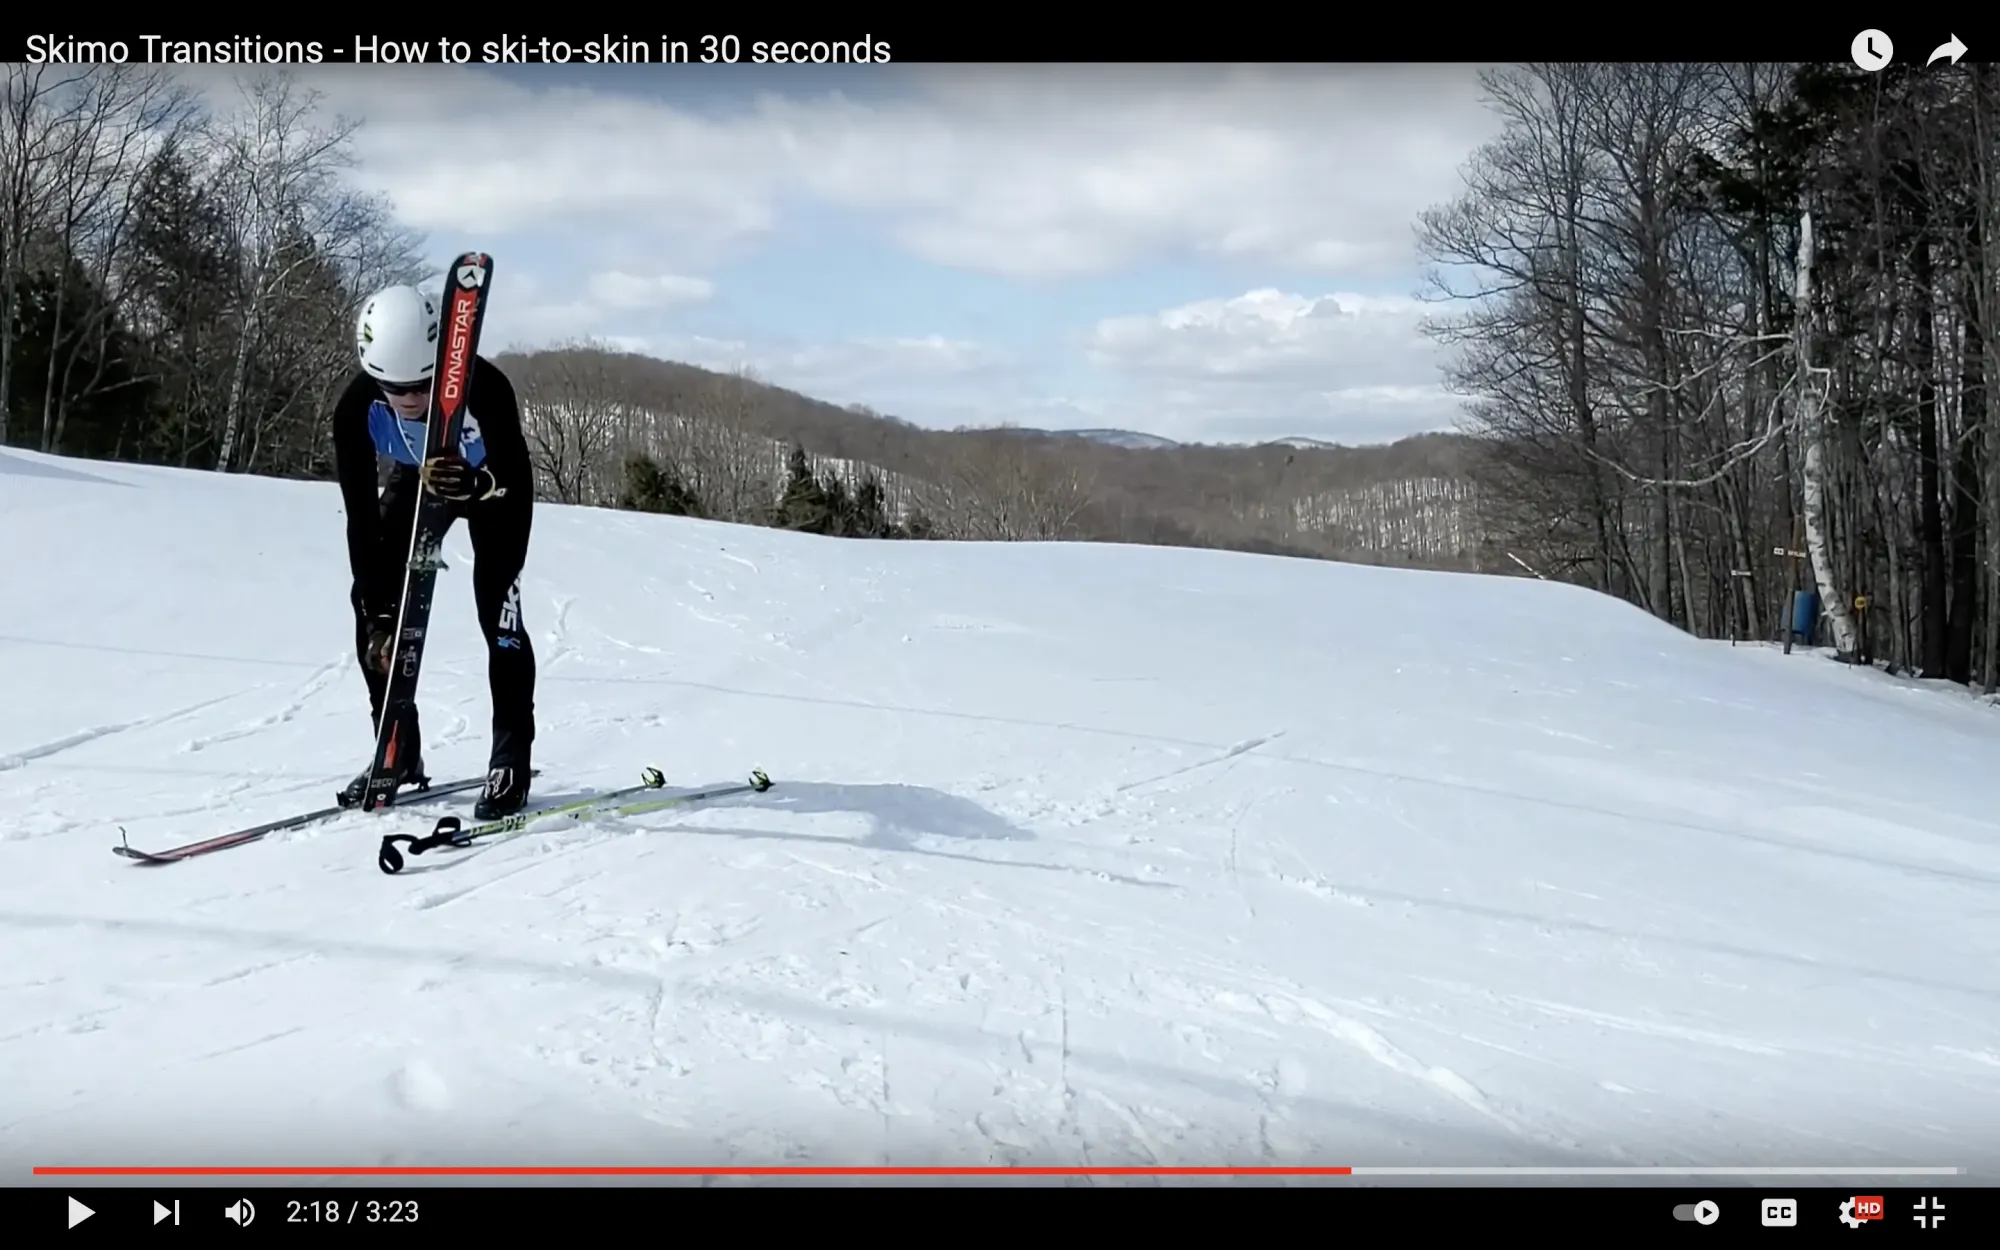
3. Unzip your suit as you bend over to place your poles on the ground.
As soon as your skis stop, unzip and place your poles on the ground. By the time you arrive at your spot in the transition zone, the zipper on your jacket or suit should be coming down and your poles should be headed toward the ground.
You can place your poles to the side of your skis or in between them. To the side is more convenient; in between, safer from other racers.
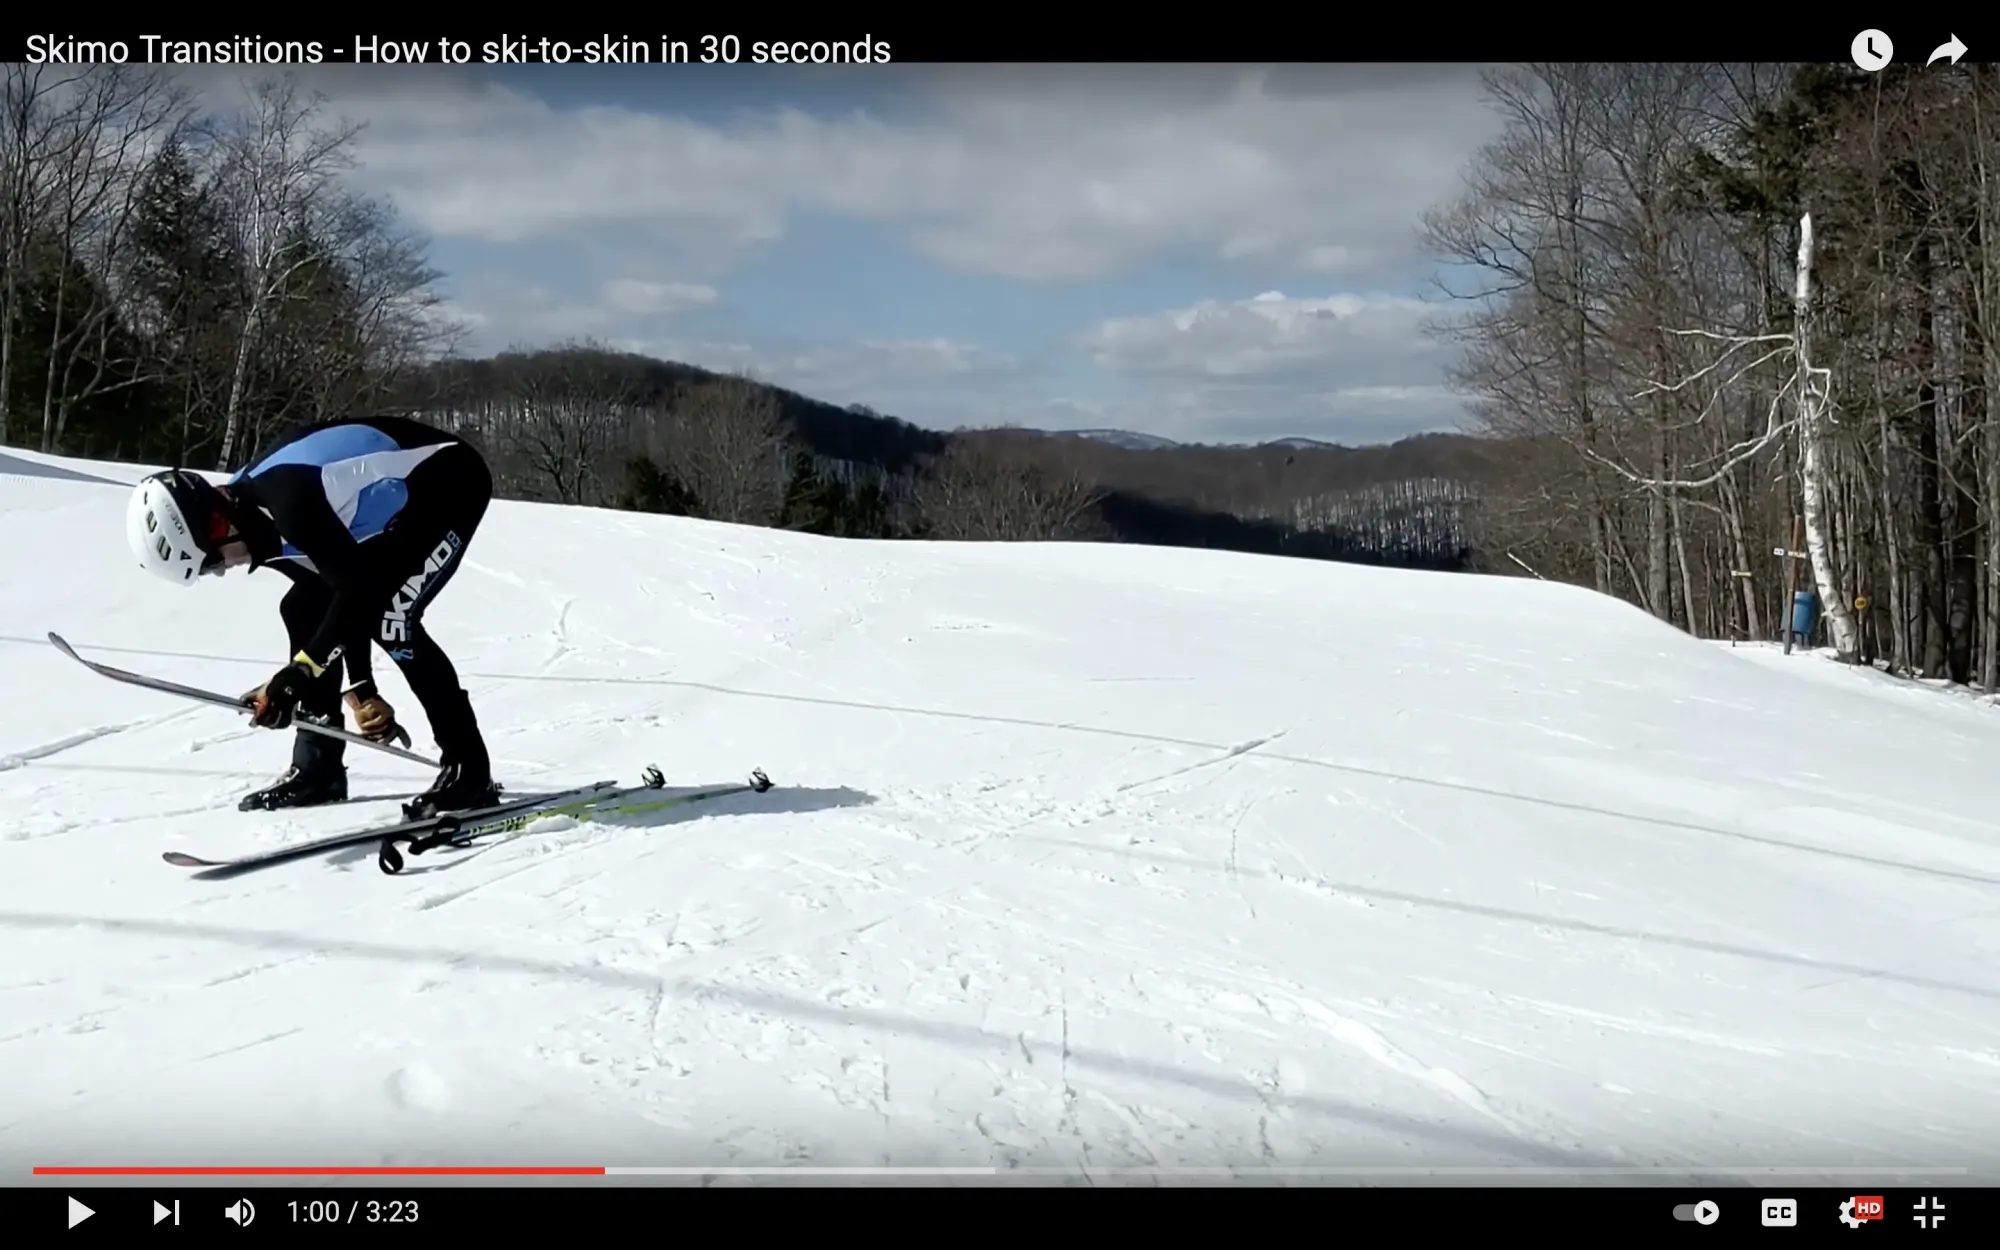
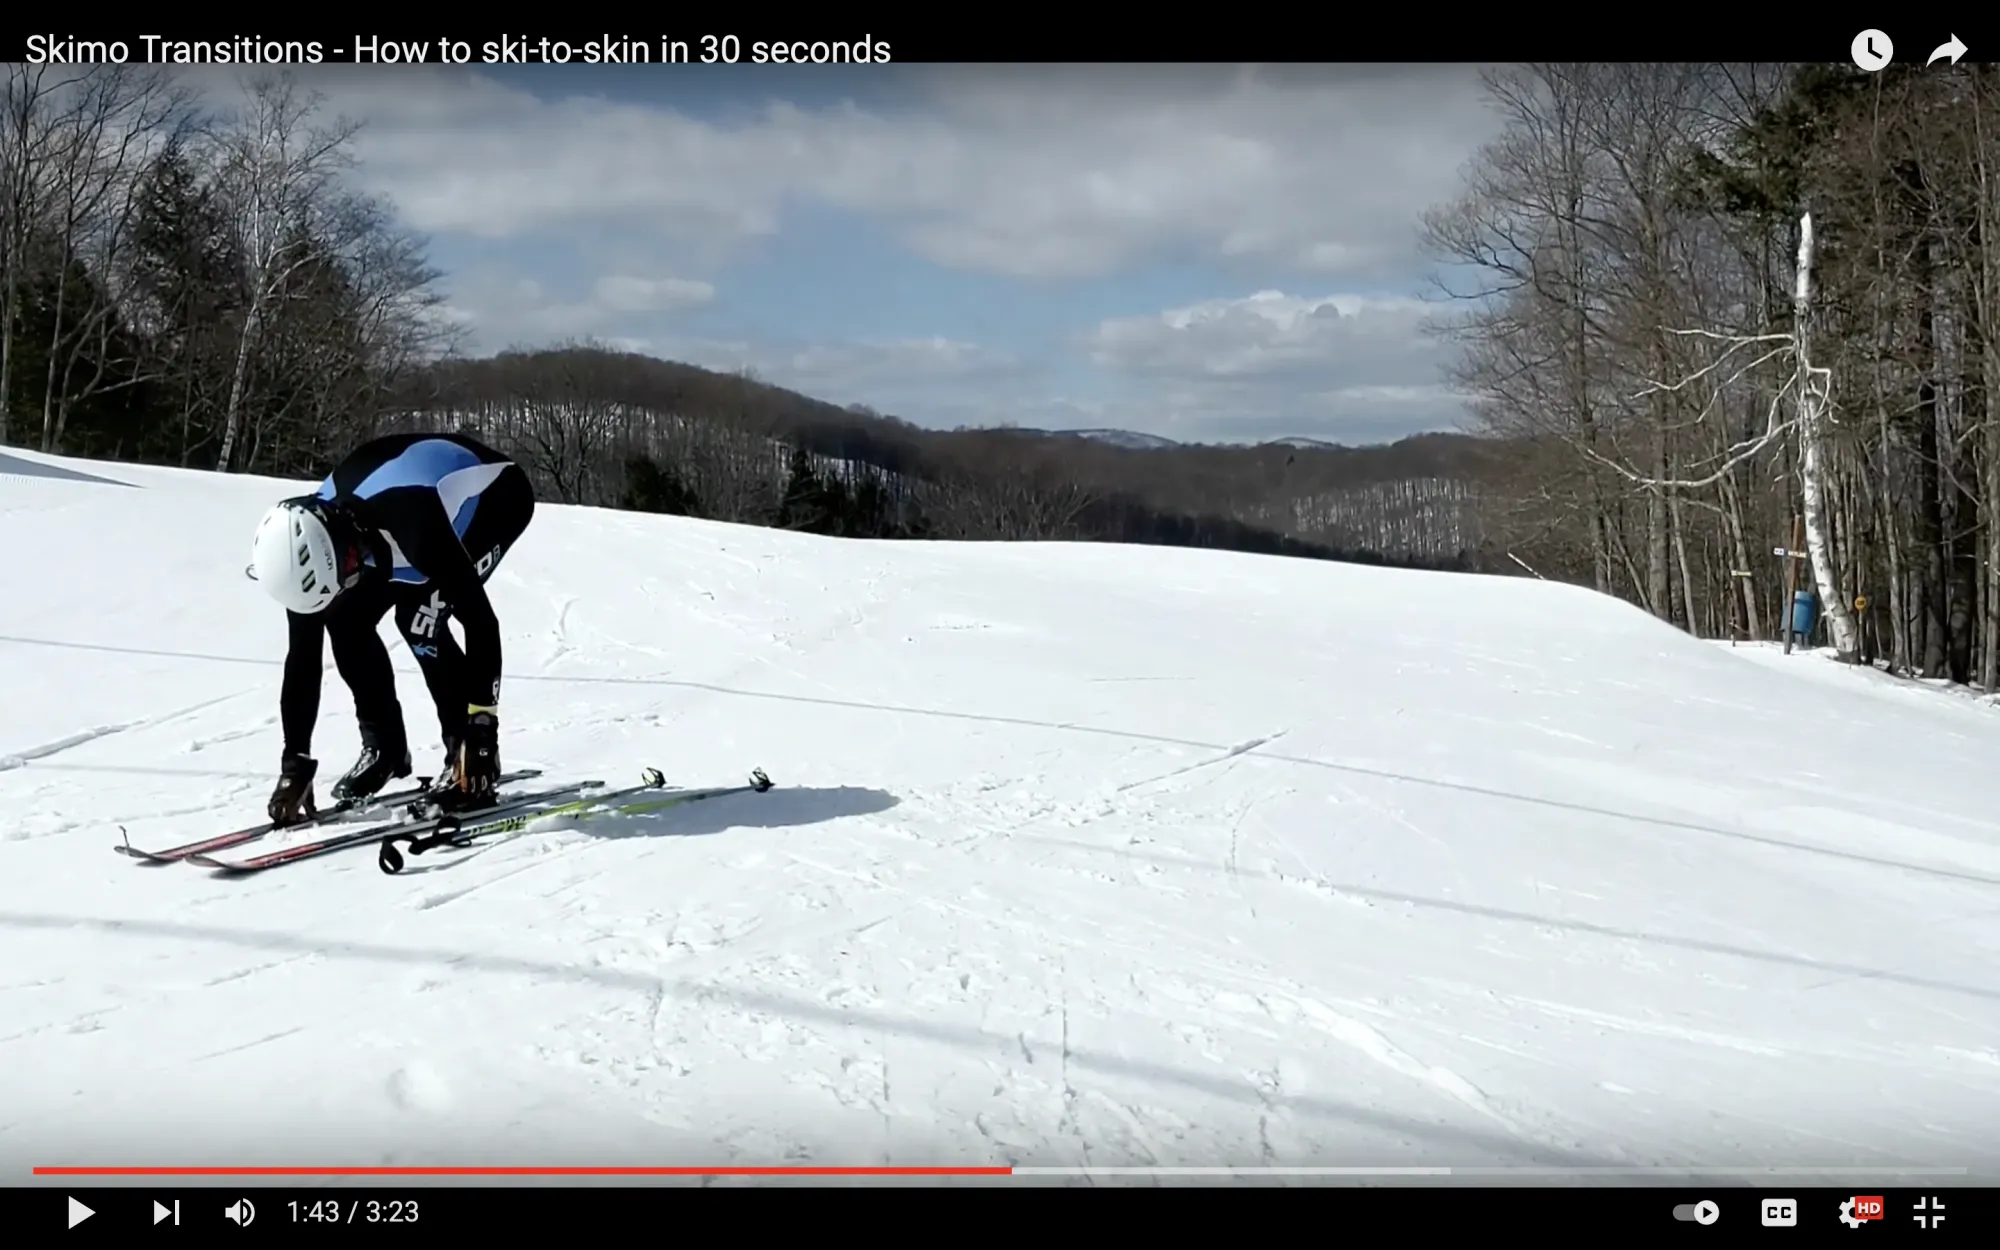
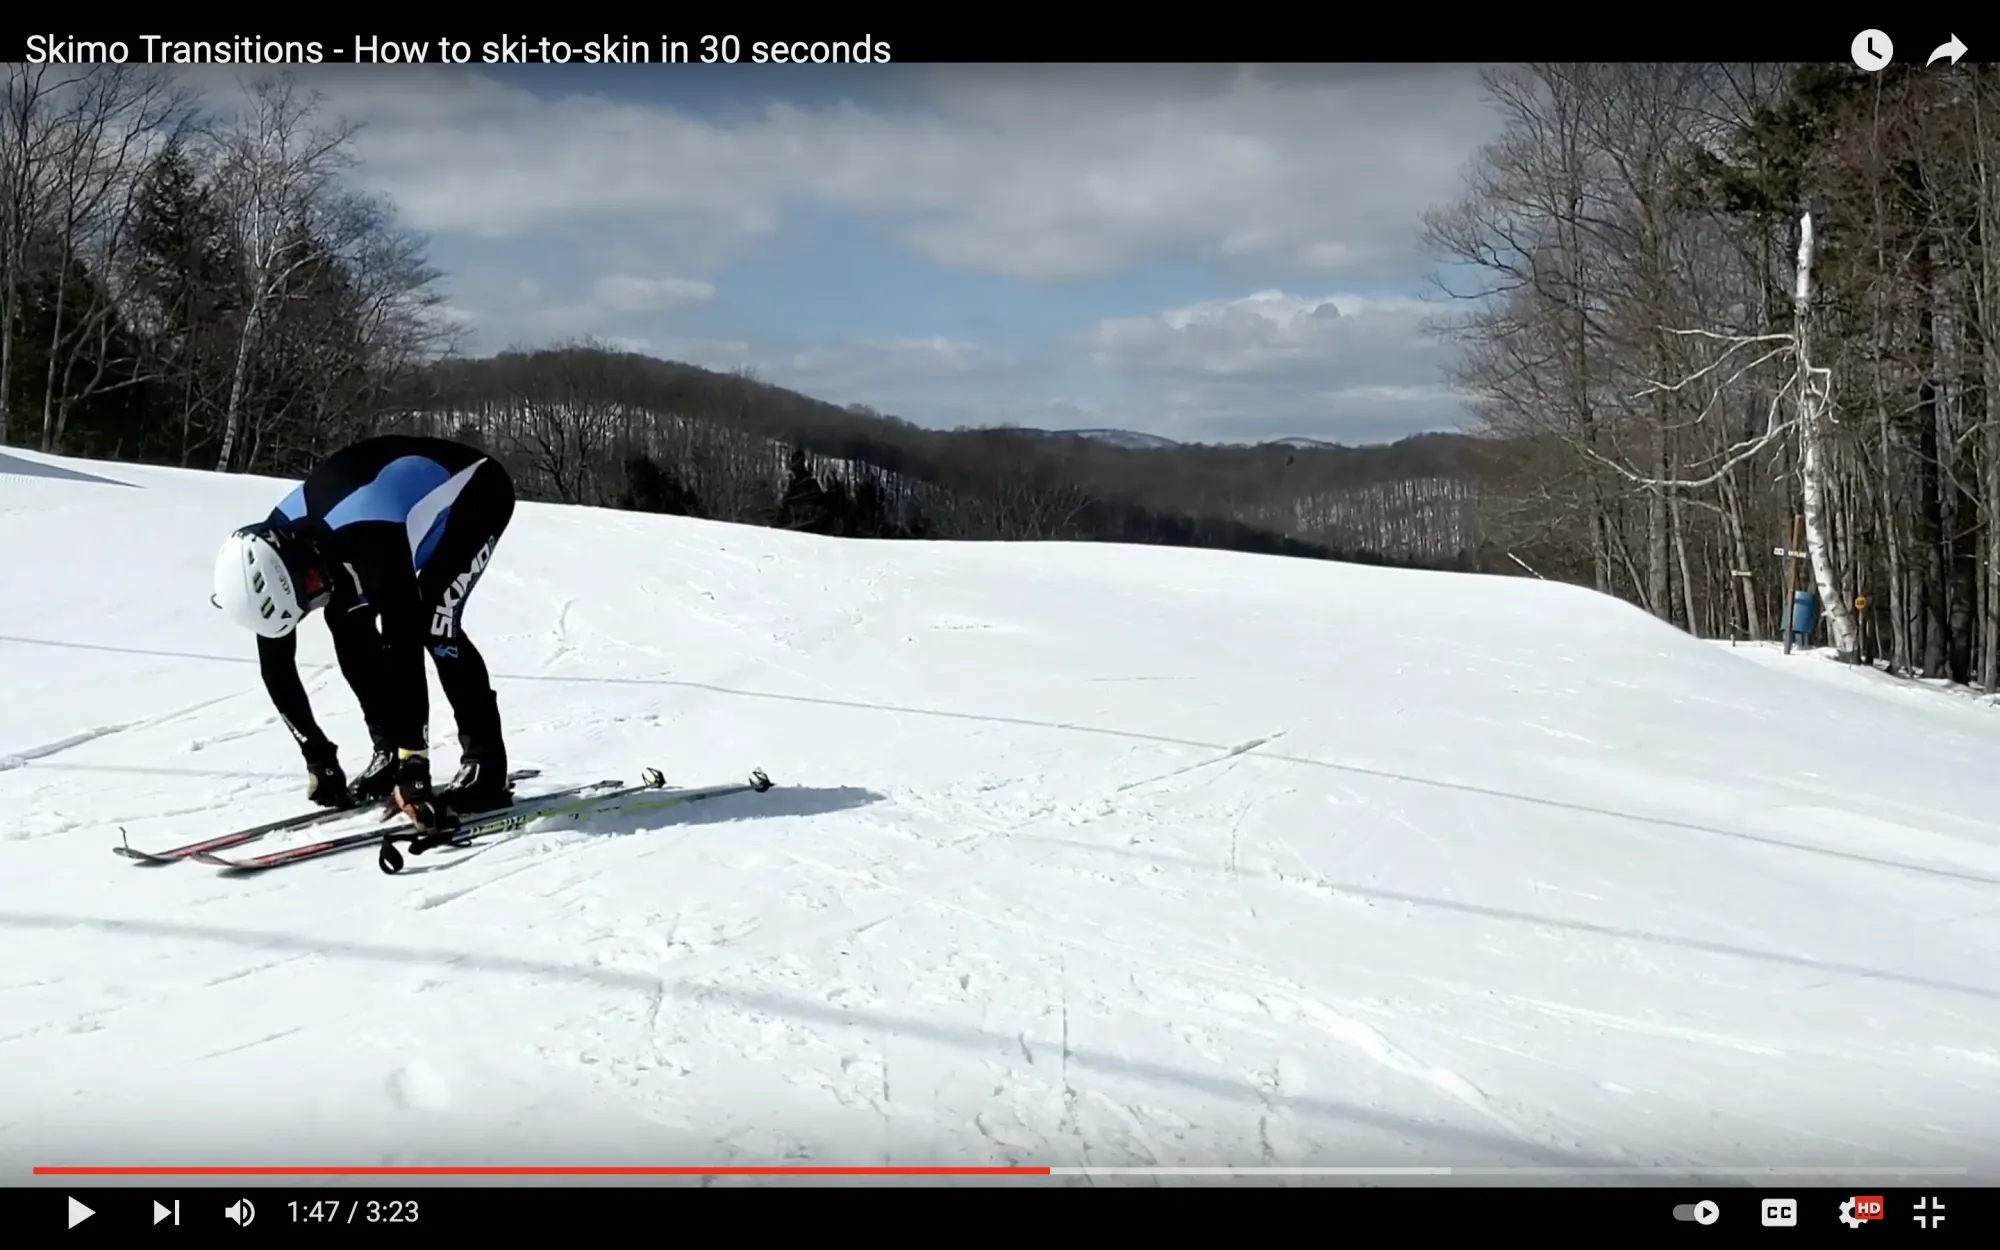
4. Unlock both boots at the same time.
After placing your poles on the ground, move your hands straight to your boot levers. Unlock them into uphill mode.
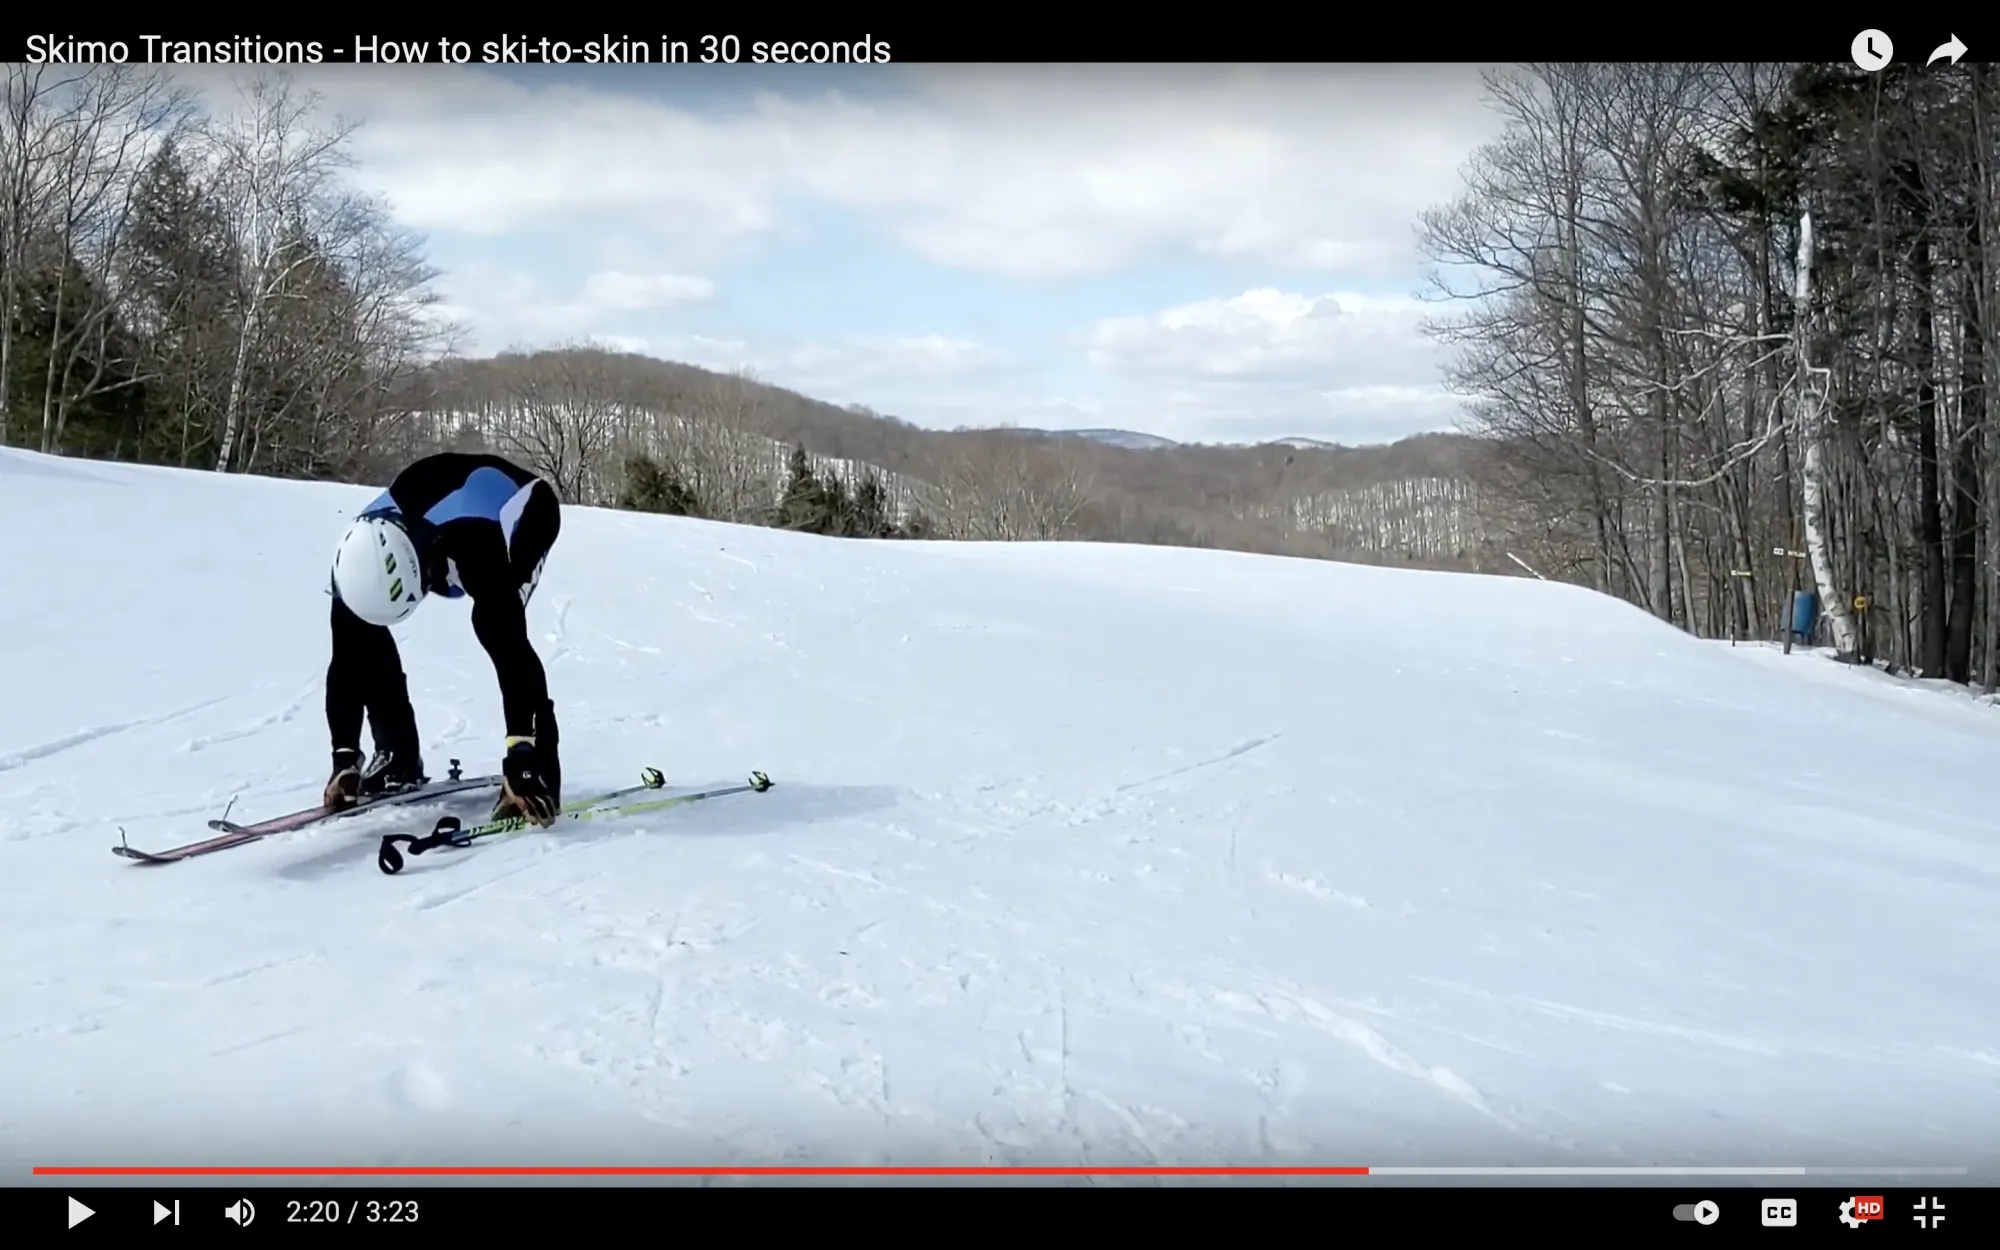
5. Use your left hand to open your right toe piece.
Using the heel of your left palm, press down on the right-hand toe lever to release it. By using your palm, your fingers will be open and ready to grab the ski. It will also set you up well for the moves ahead.
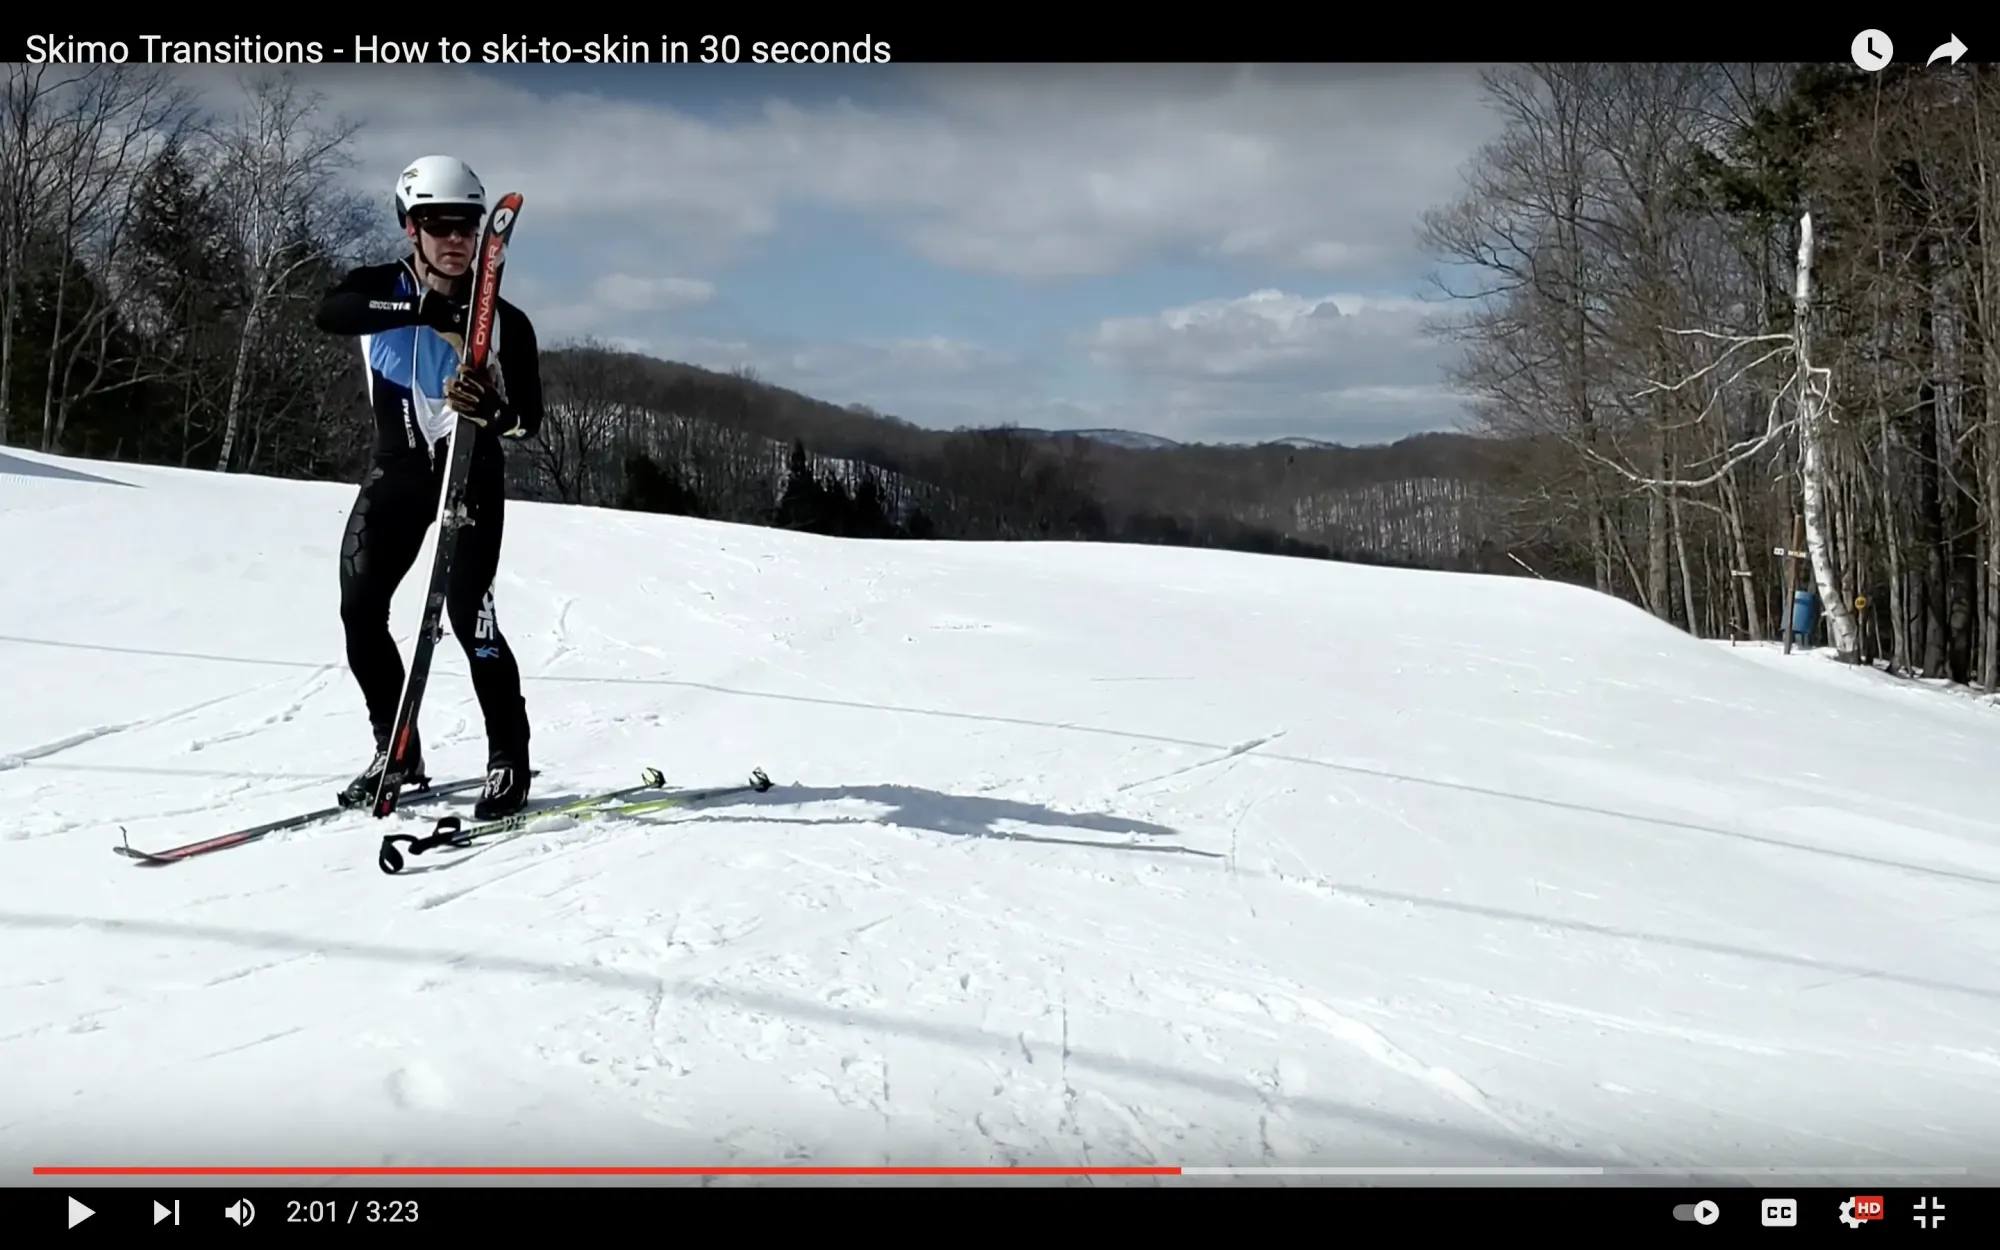
6. As you lift the ski with your left hand, close the heel piece with your right.
After opening the toe piece with your left hand, immediately grab the ski and lift it off the ground. As the ski comes off the ground, close the heel piece with your right hand.
7. As you stand, wipe the bottom of the ski with your rising right hand.
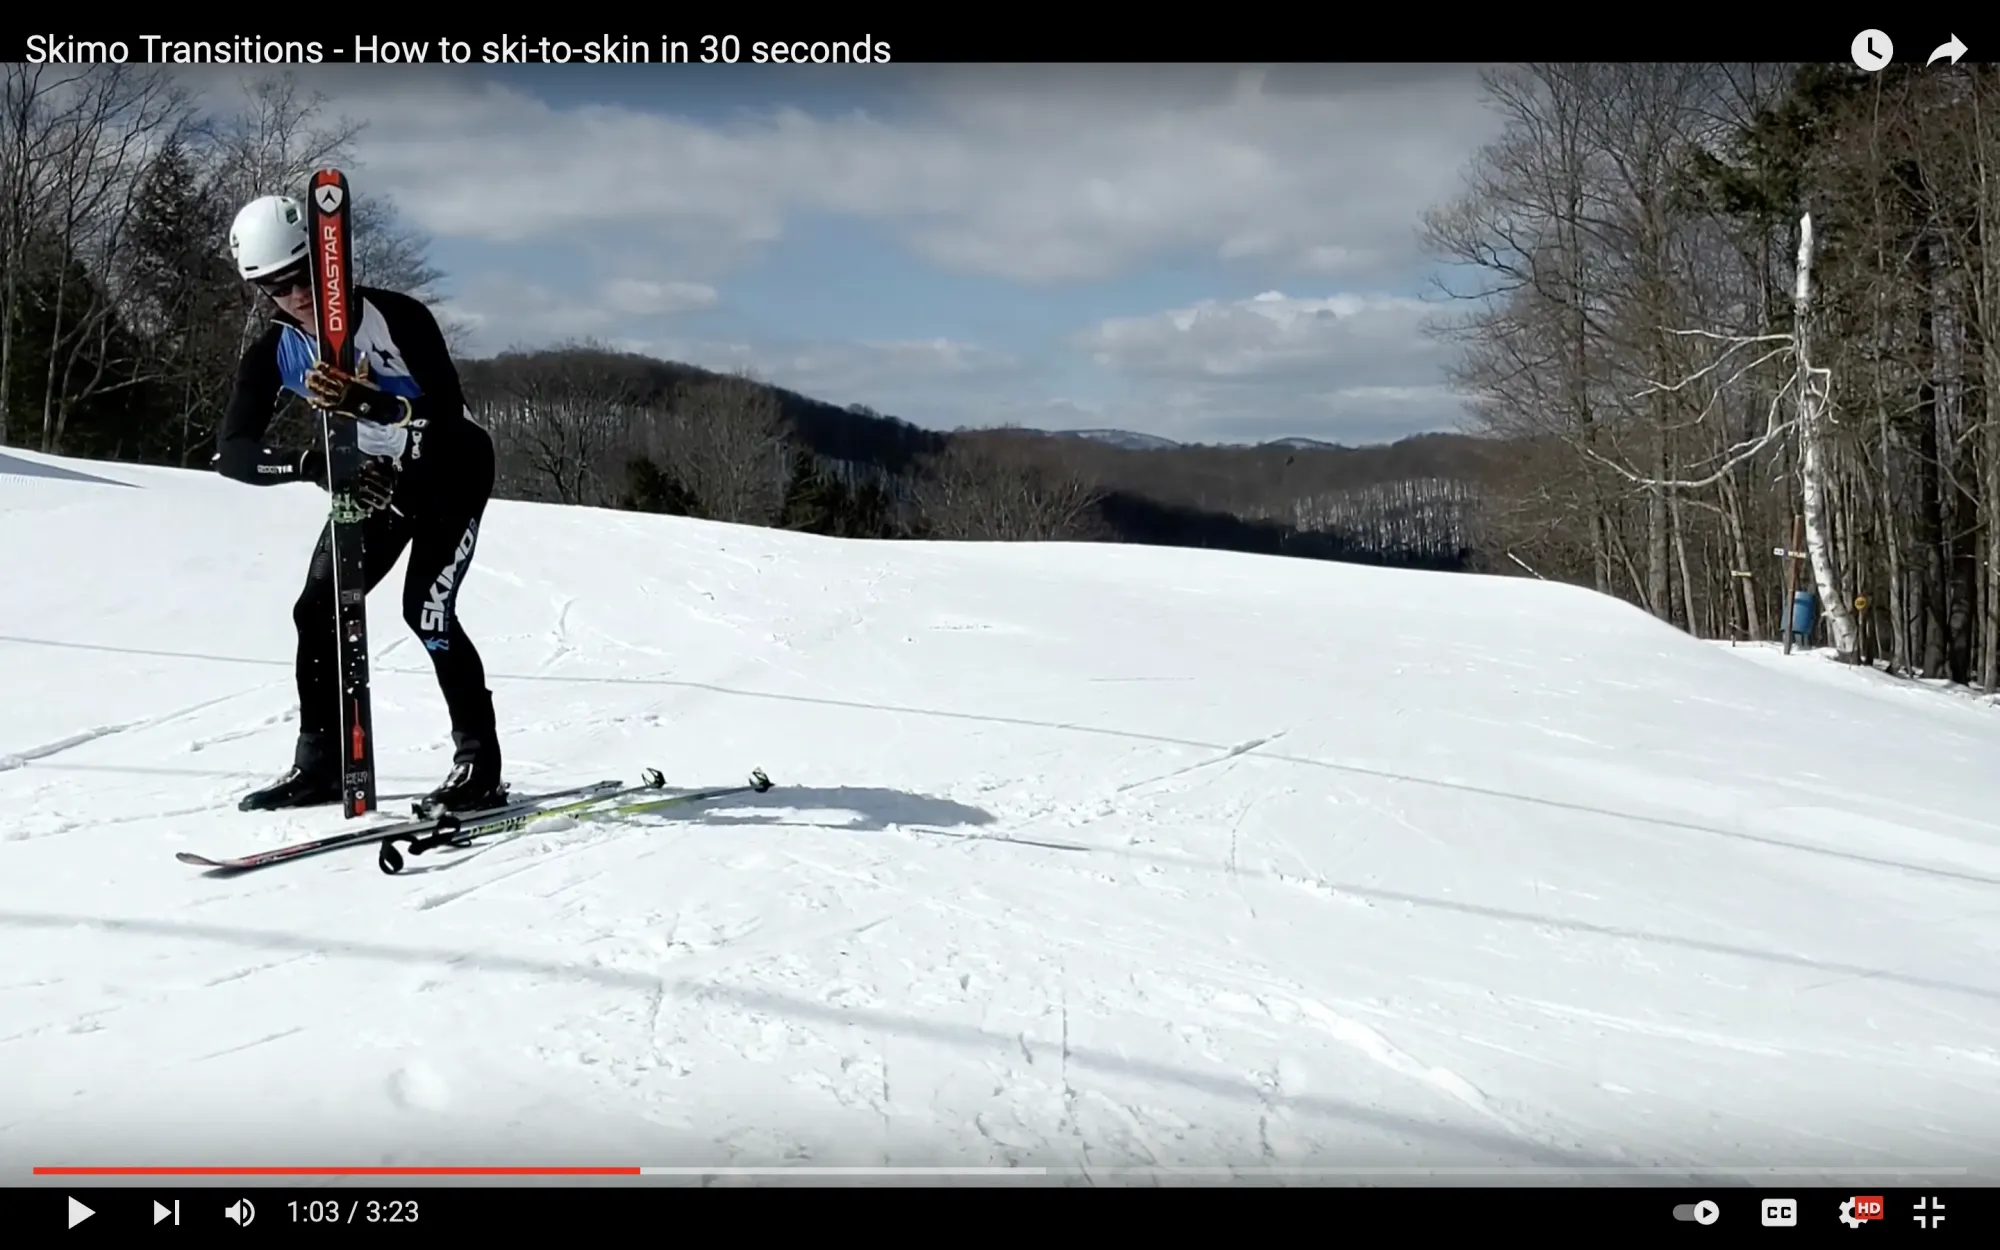
At this point, your right hand will be in a good position to wipe the bottom of the ski. Take the opportunity to clear the base of the ski of any snow. This'll keep the base clean and improve skin adhesion.
Once the ski is wiped, let the ski fall into the crook of your left arm.
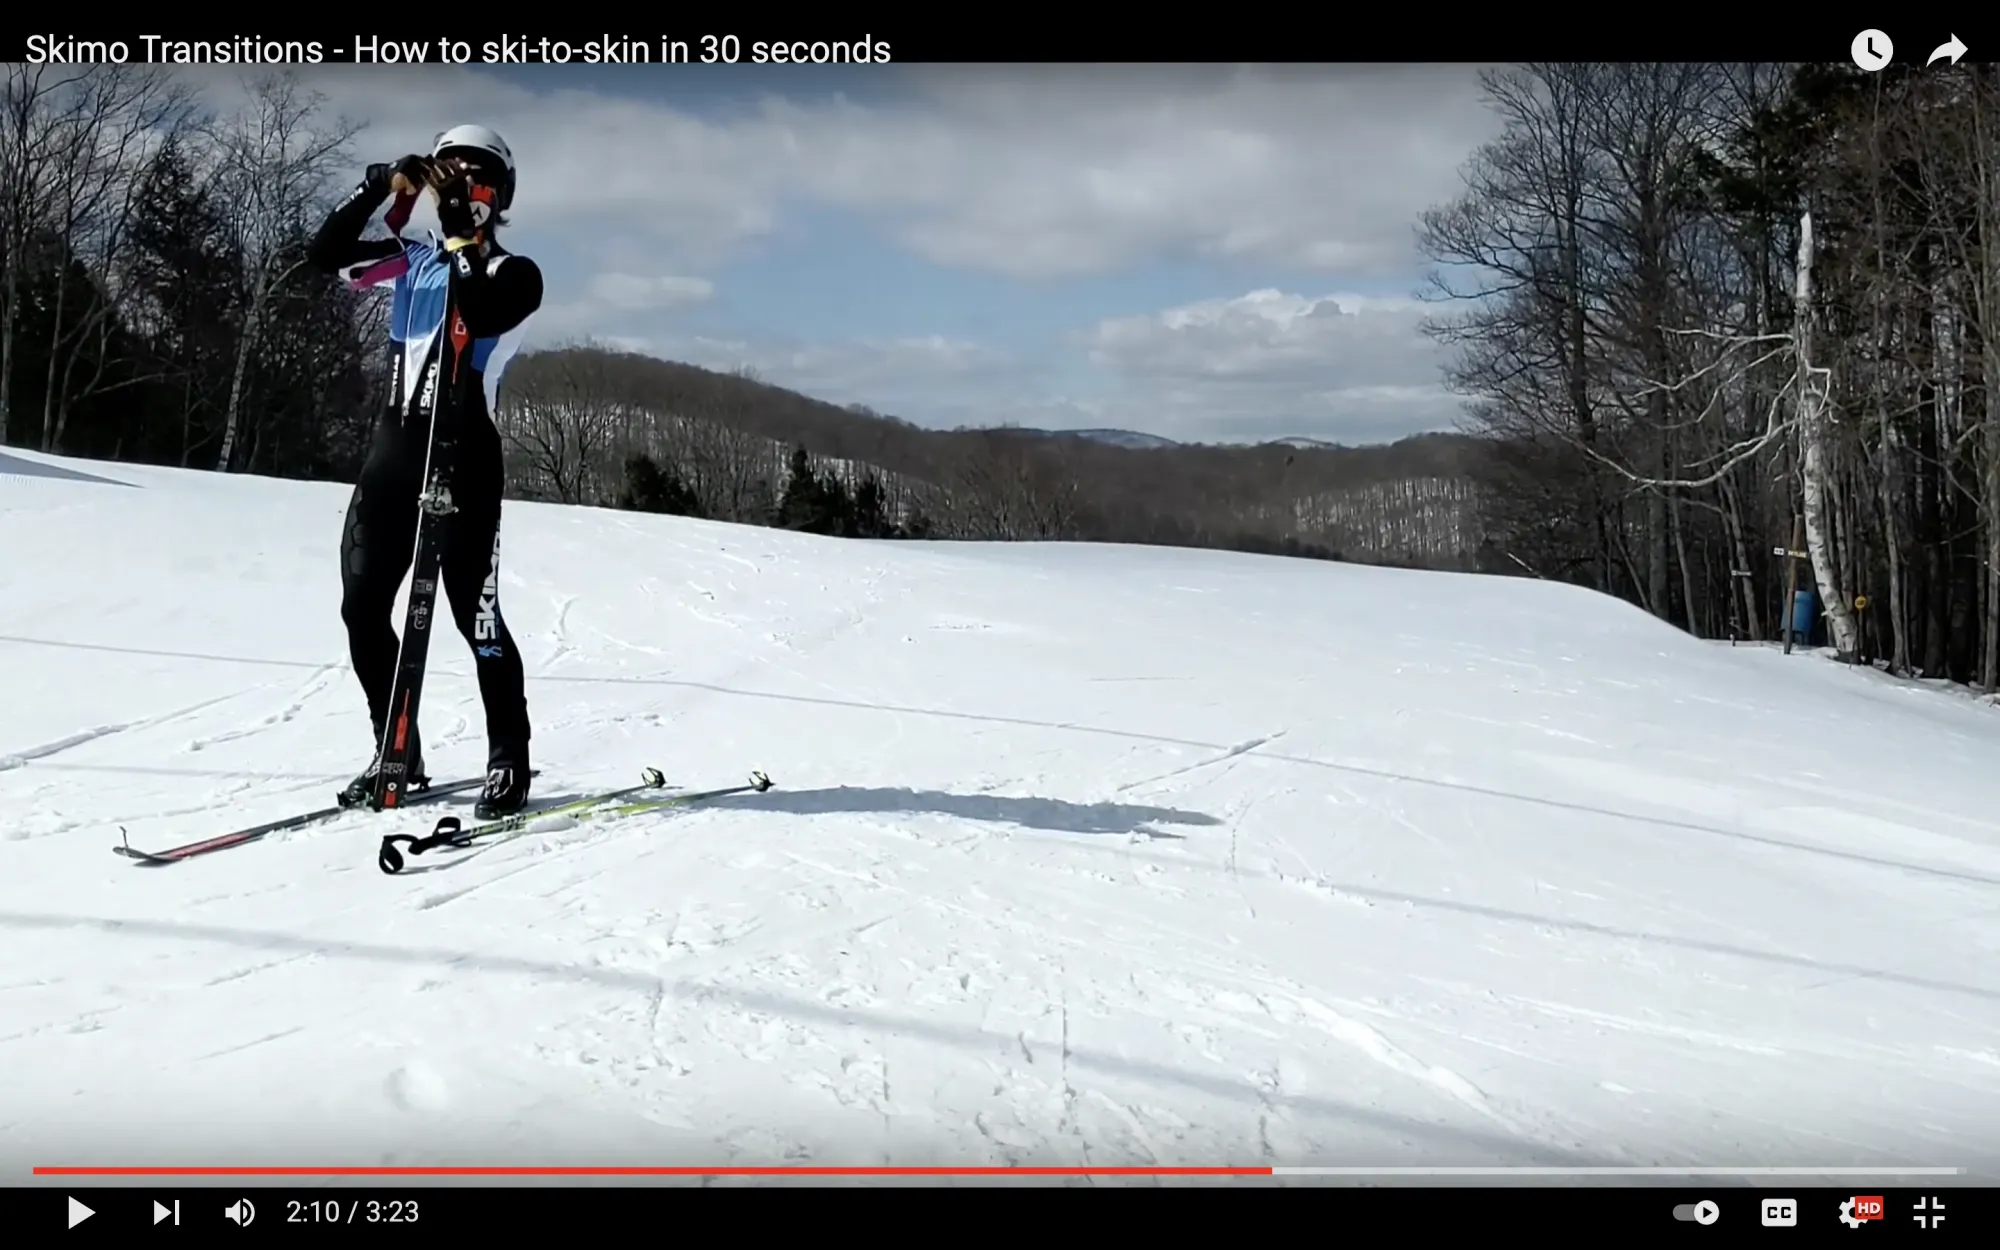
8. Open your suit, grab the first skin by the bungee, and grab the tail of the skin with the other hand.
To guide the skin into the tip notch of the ski, you'll want one hand on the bungee and the other grabbing the tail.
Depending on which side of your suit your skins are on, you may have to pass the bungee to the other hand to get into the best position. You'll want the bungee hand to be on the same side as the ski.
9. Guide the bungee into the notch in the ski tip, and open the skin.

With the bungee int he tip of the ski, pinch the tip of the skin with your thumb. Do not pull on the skin and rely on the bungee without pinching it. Doing so can easily over tension the bungee which will make the next rip very awkward, slow, or impossible with one hand.
With the skin tip pinched to the ski, open the skin with a strong pull down the length of the ski.
If it's difficult to get the skin open with one hand, then the skin has too much glue on it. Reglue your skins before the next race.
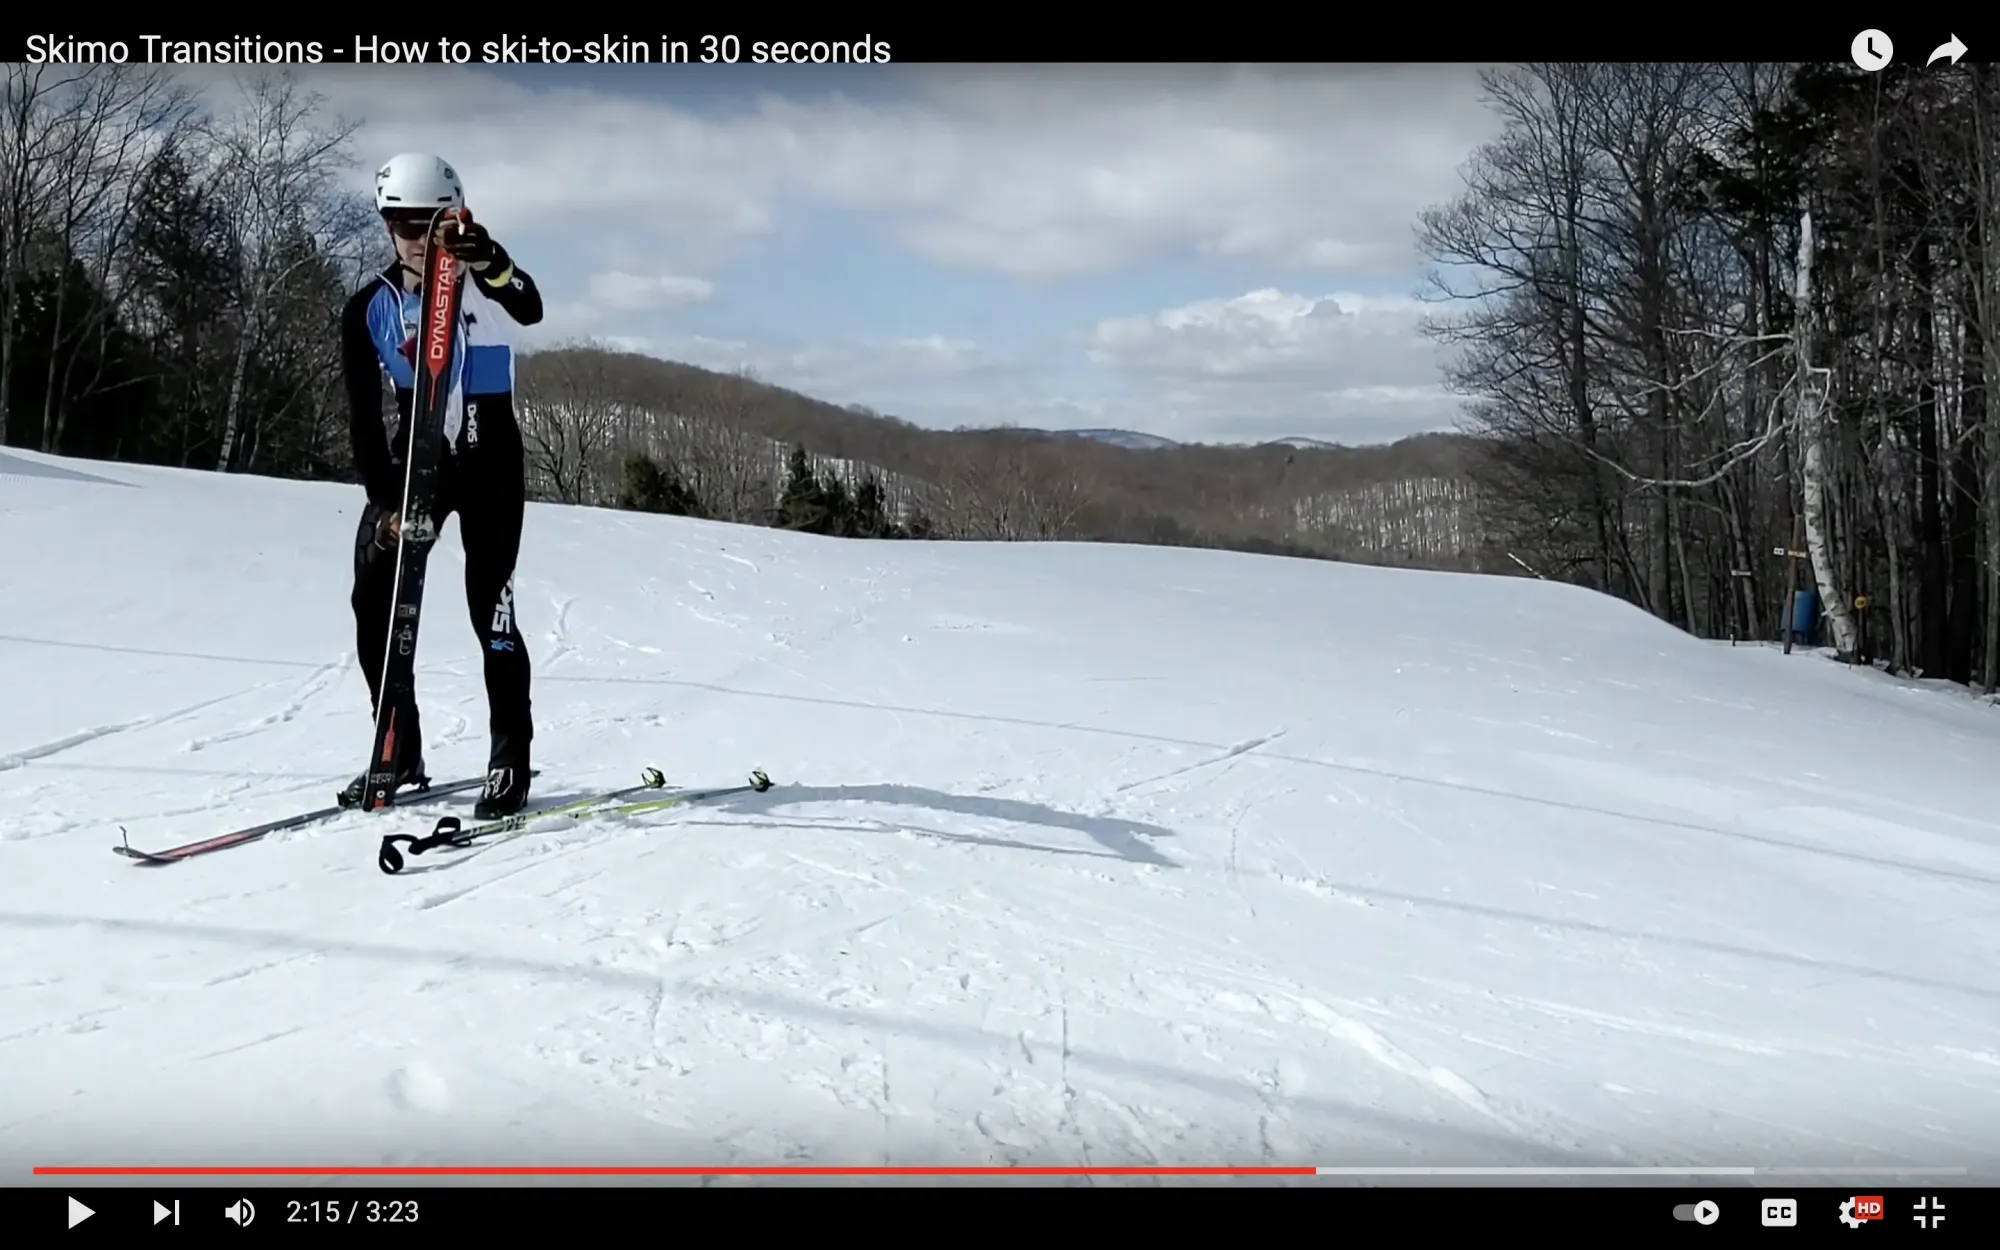
10. Slide your left thumb down the length of the skin to paste it against the ski while the right hand pastes the tail.
With the skin open, you can line it up and paste it to the ski. Try to center the skin on the base. If too much of the skin glue is exposed past the eddge of the ski, it'll collect snow and reduce adhesion in the next transtion.
As you bend over for the next ski, slide your left thumb along the skin and paste the tail with your right hand.
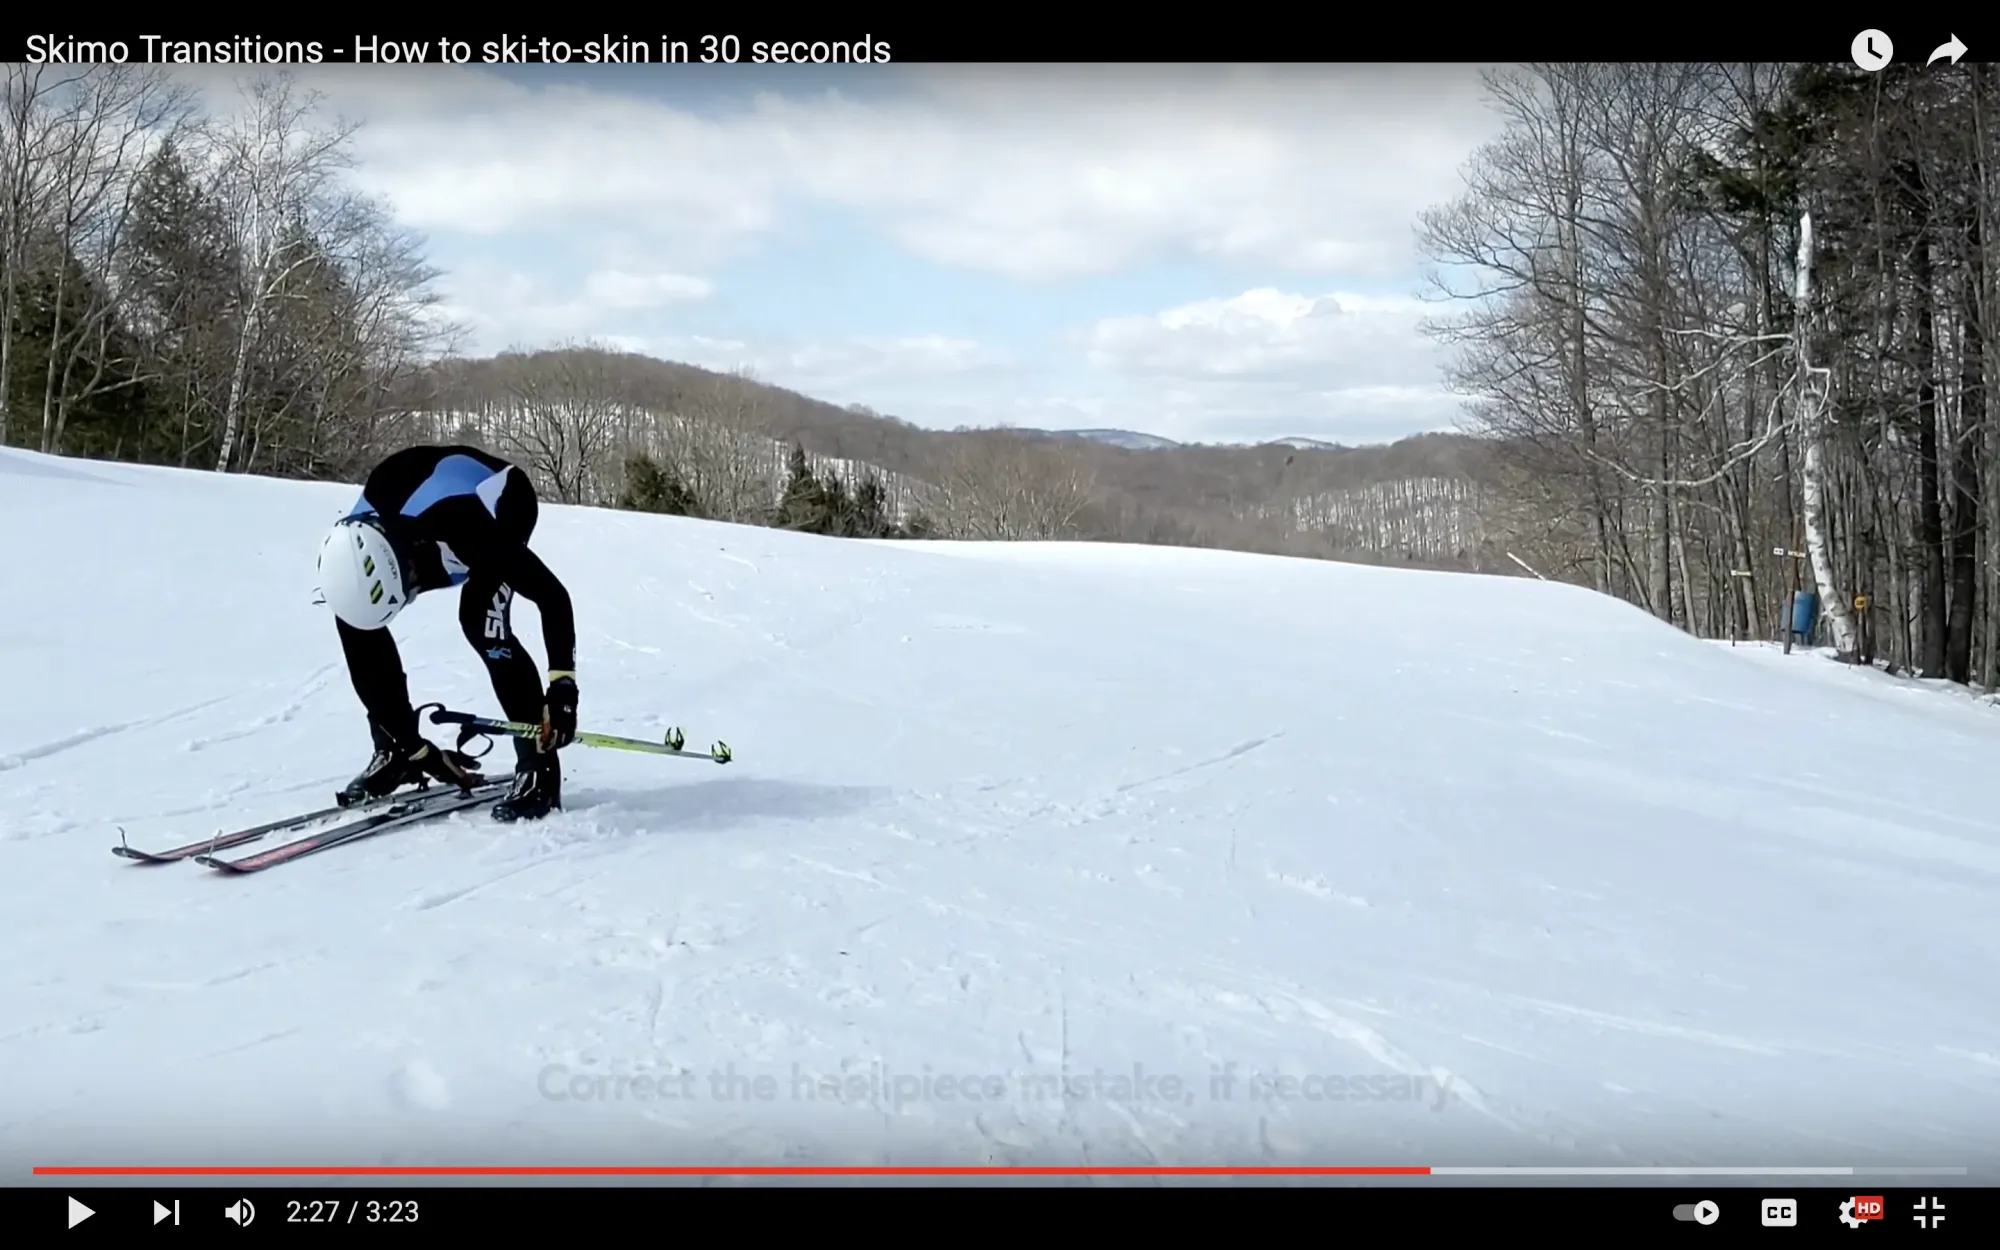
11. Put the ski on the ground. Glance at the heel piece to make sure that it's closed.
It's important to double-check that the heel piece is closed. Sometimes the closure can be missed when picking up the ski. If you step into the ski with an open heel piece, your heel will lock into the binding, you won't be able to skin forward, and you'll lose time by re-opening and re-entering the binding.
To avoid that, glance at the heel piece as the ski touches the ground. Close the heel piece if necessary.
12. Step into the right ski, and lock the right toe piece while opening the left.
As soon as your right foot clicks into the toe piece, lock the toe lever with your right hand while simultaneously opening the left toe piece with your left hand.
13. Lift the ski as your right hand closes the heel piece.
14. Wipe the ski as you stand up.
15. Grab the second skin by the bungee and the tail of the skin with the opposite hand.
16. Guide the bungee into the tip notch, pinch the skin to the ski, and open the skin with a strong pull.
17. Slide your left thumb down the length of the skin to paste it against the ski while the right hand pastes the tail.
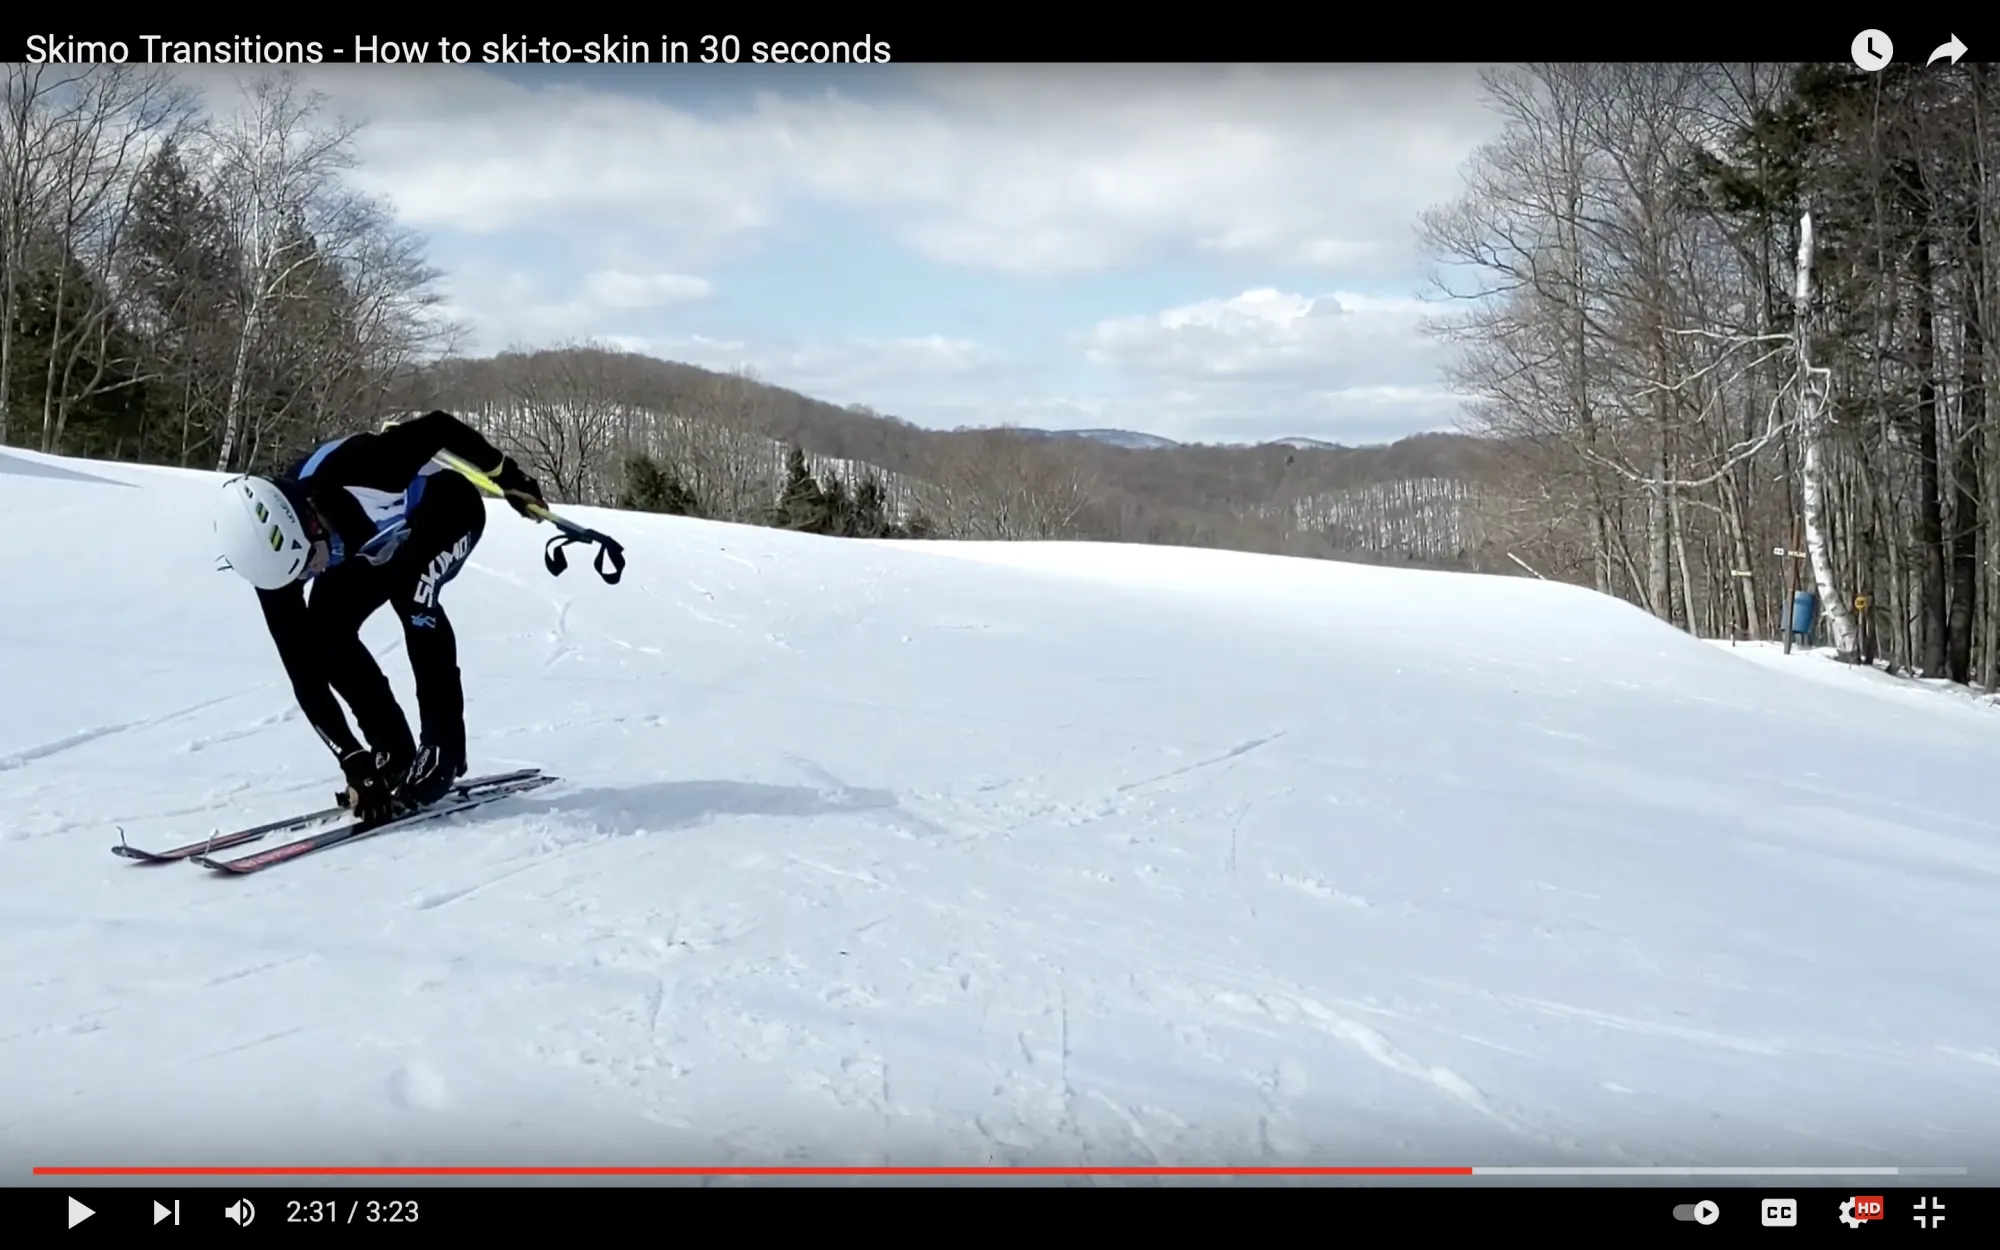
18. Grab your poles as you place the left ski on the ground.
As you step into the left-hand toe piece, put your left hand on your poles so you're ready to pick them up.
19. Again, glance at the heel piece to make sure that it's closed. Close the heel piece if necessary.
20. Step into the toe piece and lock it.
21. Zip up your suit as you leave the transition zone.
As soon as your second toe is locked into the binding, pick up your poles and start skinning. Zip up your suit as you exit the transition zone.
22. Drink from your bottle.
If the race is long enough that you'll need calories and water, exiting a transition is the time to get some. During the transition, your heart rate and respiration rate will ease. That makes it easier to drink than when you're working hard going uphill or down. Take advantage of it and take a big gulp as you exit the transition.
(If you estimate your race time in the two- to three-hour range, and if you have a strong aerobic base, it probably won't be necessary to eat any solid food. You should be able to get enough calories with your hydration system. However, if your race will be longer, or if you've done too much high intensity, you may need to eat solid food when races get longer than two hours.)
23. Get your hands into your pole straps as you start skinning.
As you start uphill, get your hands into your pole straps. It's tempting to think you can save time by ignoring the straps, but you can push a lot harder with pole straps than without. poles are for pushing, not just for balance.
24. Settle into a strong, steady uphill pace.
Similar to the start line, don't let the short recovery of the bottom transition fool you into thinking you can maintain a faster pace. Skin uphill at the fastest pace you can maintain to the top, not the fastest pace that you can maintain second to second.
Why so much detail for something so short?
Skimo transitions are an essential skill in skimo racing. Done well, the time they take is insignificant when compared to the length of a typical skimo race. Done badly, transitions can add minutes to your race time and force you to finish well behind other racers of similar fitness. That sucks.
But there's good news. Anyone can have fast transitions. All it takes is practice.
Join the discussion.
Get access to our private community,
Inside Redline Alpine.
It's free $5 per month for the next 25 members.
Get in now at the cheapest price possible.
Get Inside