Skimo Transitions: The DOUBLE RIP in 10 seconds
After the final ascent, the change from skinning to skiing is unique. Instead of two single-skin rips, it's much faster to double-rip both skins and stuff the sticky mess in your suit.
Doing a double rip in less than 10 seconds is possible with enough practice with the right gear. Think of 20 seconds as a maximum.
Speed will come naturally as you become more efficient, while rushing in practice will just make you sloppy. The first few hundred reps may take minutes each time, but with enough practice, a fast time will become casual.
Speed doesn't come from doing everything faster, but in not doing things that don't matter. It comes from removing waste, not adding panic.
Table of Contents
How to do a double rip transition in 10 seconds
The following method is one of many. Different body mechanics and levels of flexibility may require some adjustments. Practice it a lot, and then make it your own.
1. As you approach the transition zone, put both poles in one hand and get ready to unzip your suit.

Be ready to act as soon as you enter the transition zone. Do not wait until you enter the transition zone to get organized.
The more you can do before you enter the transition zone, the less you'll have to do while you're there, and the faster the transition will be. To make that happen, get your hands where they need to be as you approach your transition spot.
2. Move to the front-most open area within the transition zone.
Transition zones can be busy. Get as close to the exit of the transition as possible. Do not be Canadian about this and worry about offending someone. (It's a race, not a campfire sing-along.)
Being near the front of the transition zone reduces the chance of any interference when you're ready to leave. And it makes it less likely that your poles will get kicked by an incoming racer as they pass by.
3. Unzip your suit as you bend over to place your poles on the ground.

As soon as your skis stop, unzip and place your poles on the ground.
By the time you arrive at your spot in the transition zone, the zipper on your jacket or suit should be coming down and your poles should be headed toward the ground.
You can place your poles to the side of your skis or in between them. To the side is more convenient; in between, safer from other racers.
4. Lock both boots into downhill mode.

After placing your poles on the ground, move your hands straight to your boot levers. Lock them into downhill mode.
Do not stand up.
5. Open the left heel piece while using the right arm for balance.

When your boots lock, your hands will be close to your bindings. Take advantage of their proximity. Reach back to open the heel piece of the left-hand binding. At the same time, extend your right arm for balance.
But don't try and open both bindings at once. That makes you crouch on two tip-toes which is unstable. Falling over wastes time.
6. Open the right heel piece while grabbing the left skin tip.

Pull the left ski back toward you to grab the skin tip. As you grab the skin tip, unlock the heel piece of the right-hand binding.
7. Keep your right heel up as you rip the left skin.

Slide the left ski forward as your left arm pulls backward. Sliding the ski forward will help remove the whole skin without having the tail stick and get caught under the ski.
As you rip the left skin, stay bent over and balanced on your right toe. Do not stand up.
8. Immediately grab and rip the right-hand skin.

With the left skin still trailing behind you, rip the right skin and stomp into the binding.
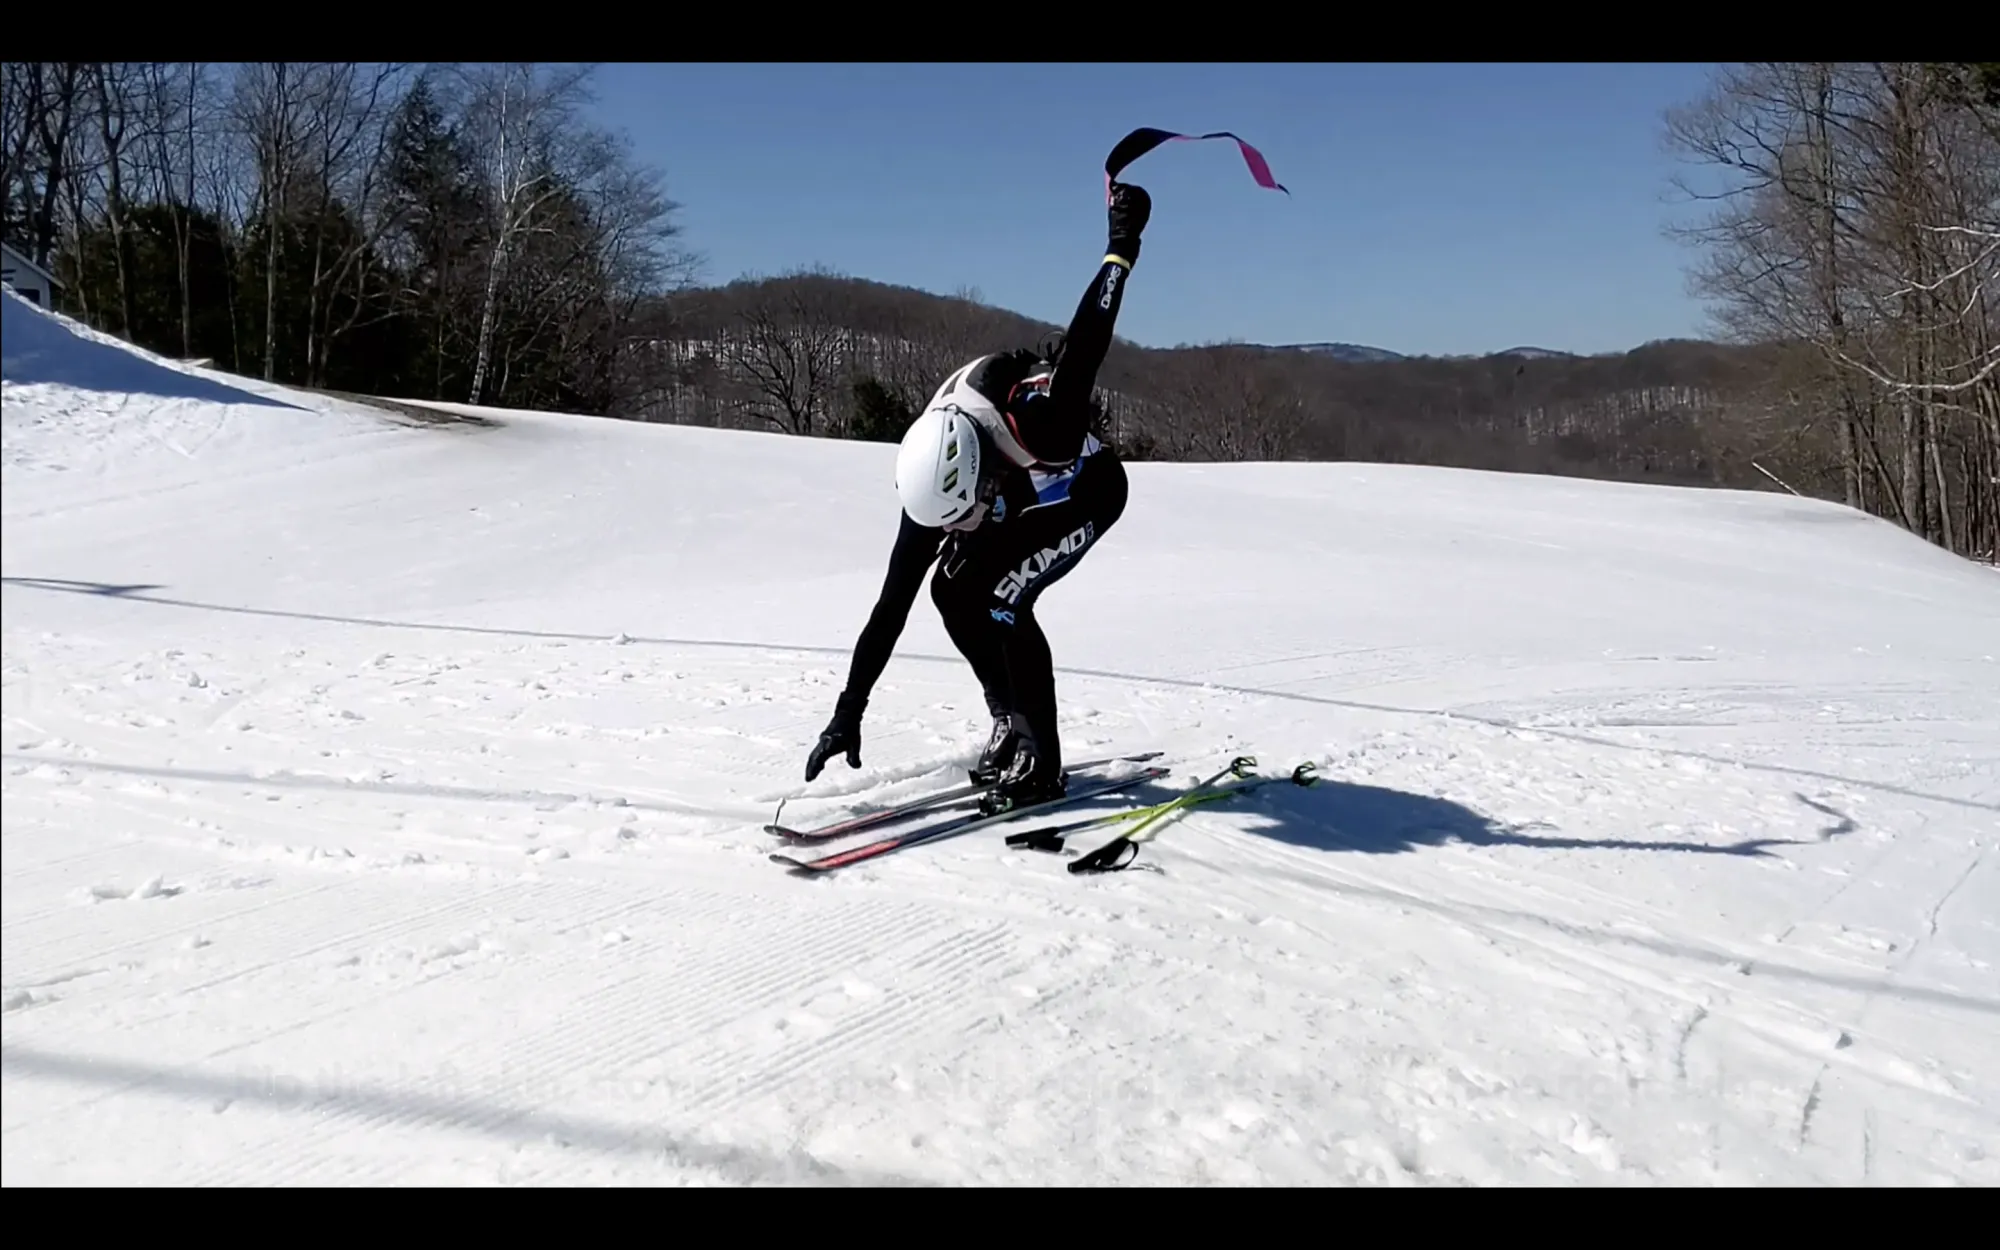
9. Stand up and bring both skins together.

As you stand, bring the skin tips together and raise them above your head.
10. Grab the middle of the two skins with one hand.

Hold both skins high with one hand, and grab the middle of both with the other. Let go with the high hand and let your skins fall into a fold.
11. Grab the middle of the folded skins with one hand.

With the folded skins hanging in front of you, grab the middle again with your free hand.
12. Stuff both skins in your suit.
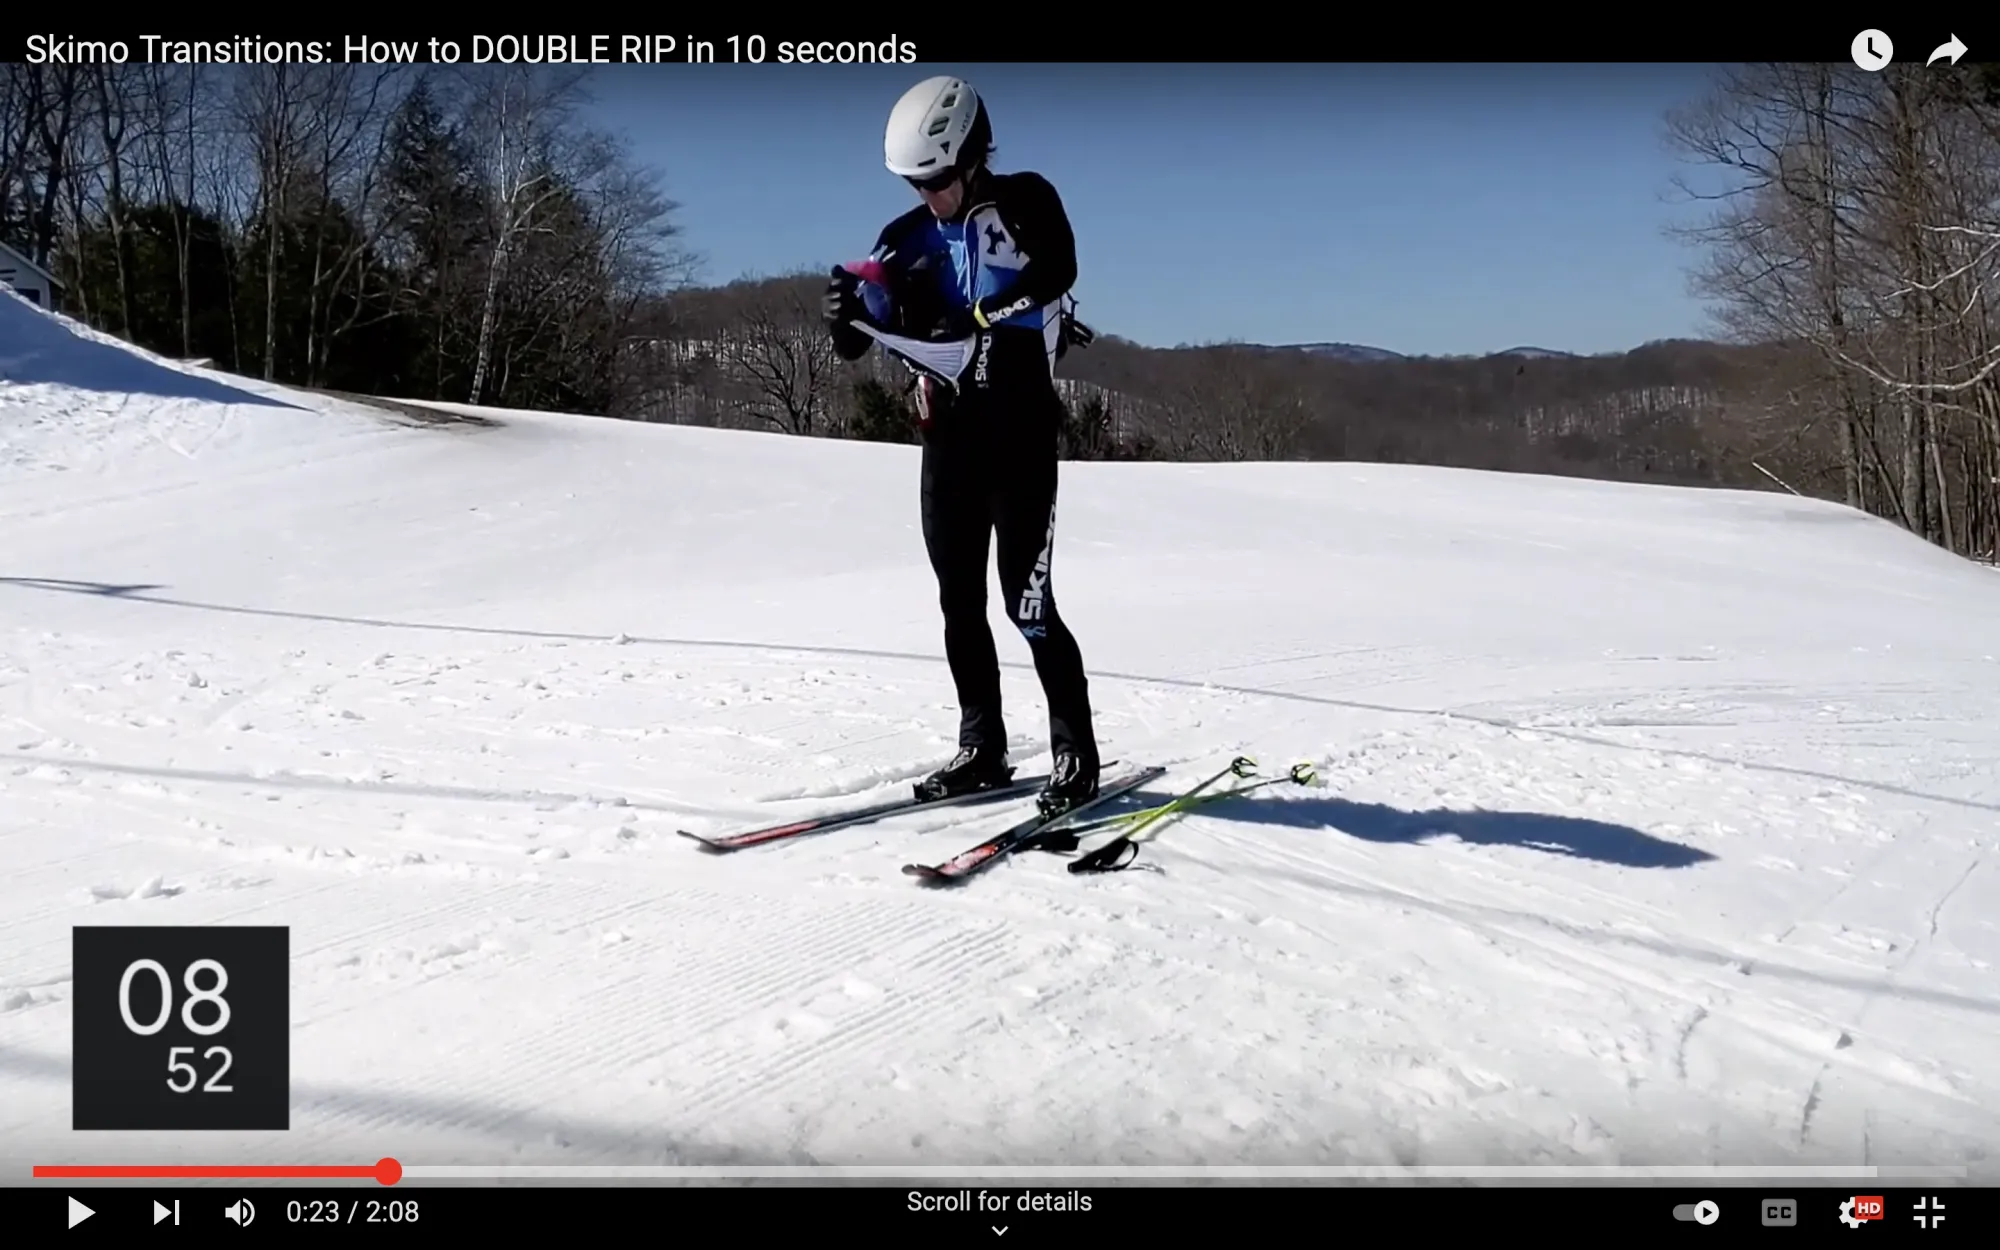
With both skins in one hand, pull open your suit with the other hand. Stuff both skins deep into your suit pocket so that they clear the zipper.
You won't need to use your skins again, so you won't have to untangle the sticky mess until after the race.
13. Zip up your suit and grab your poles.

14. Get your poles into position while skiing downhill.
As you exit the last transition, you can skip drinking from your bottle. You could also skip putting your wrist loops on, but that risks dropping a pole and having to backtrack for it.
15. Ski like hell to the finish.
Once you're out of the transition and have your poles in-hand, ski as fast as possible to the finish. But be careful.
As with all of the other descents, unless the race is on a closed course (which is very unlikely,) you have to abide by the right-of-way rules with respect to non-racer traffic on the ski hill. (In North America, race organizers usually go by the Alpine Responsibility Code.) You have to respect these rules and the safety of others without giving up unnecessary seconds on your final descent. To do so, it may be faster to choose wider, less direct lines that avoid other skiers than it would be to choose the most direct line at a slower speed, especially if there's a risk of braking unexpectedly.
Why so much detail for something so short?
Skimo transitions are an essential skill in skimo racing. Done well, the time they take is insignificant when compared to the length of a typical skimo race. Done badly, transitions can add minutes to your race time and force you to finish well behind other racers of similar fitness. That sucks.
But there's good news. Anyone can have fast transitions. All it takes is practice.